On-site Verification and Diagnostic Tool
This tool is mainly used to verify the accuracy and stability of the EasyAR Mega cloud-based localization service in a real-world environment. It can also collect EIF data when localization is abnormal for offline analysis and algorithm optimization.
The operation process of this tool follows the sequence: parameter configuration -> trigger localization -> data recording (optional) -> data export (optional).
Parameter Configuration
Before starting the formal test, you need to configure the cloud service credentials and map information.
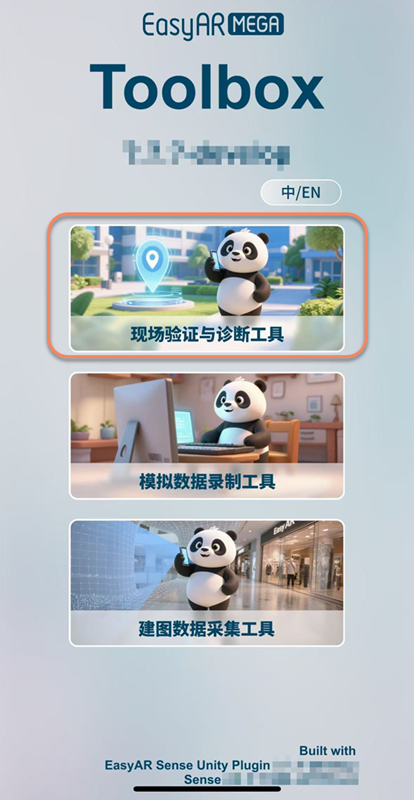
Enter the Localization Test Interface
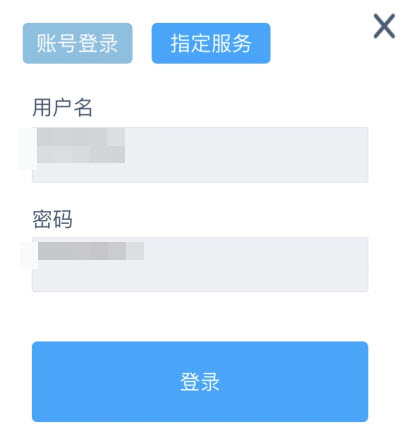
Log in to the Account
Fill in the developer center account of the EasyAR official website where the localization service is located.
Global Configuration
When you log in for the first time, you can see the global configuration window. After closing it, you can click ... in the upper right corner to enter. If there is no need to modify, you can directly close it.
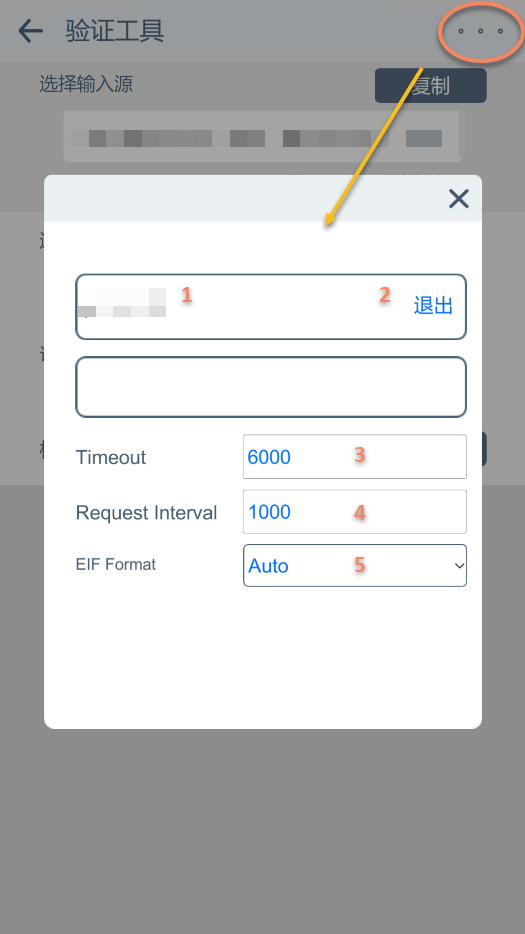
- Current username
- Log out
- Localization request timeout (usually do not modify)
- Localization request interval (usually do not modify)
- EIF format (usually do not modify)
Localization Configuration
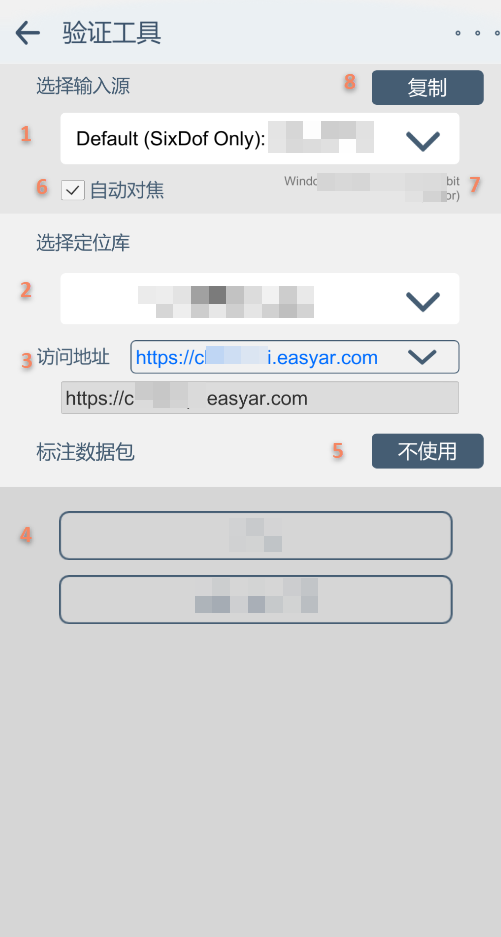
- Select the input source
- Select the localization library
- Modify the access address (usually no need to modify; overseas users please select according to the situation)
- Select the annotation data and enter the localization page
- Enter the localization page without trying the annotation data
- Modify the expected automatic focus of the camera (Note: The modification may not take effect. Some devices and systems do not support modifying the focus mode)
- Current device information
- Copy the current device information (Please copy and send it to the EasyAR team when reporting problems)
Operating Environment Configuration
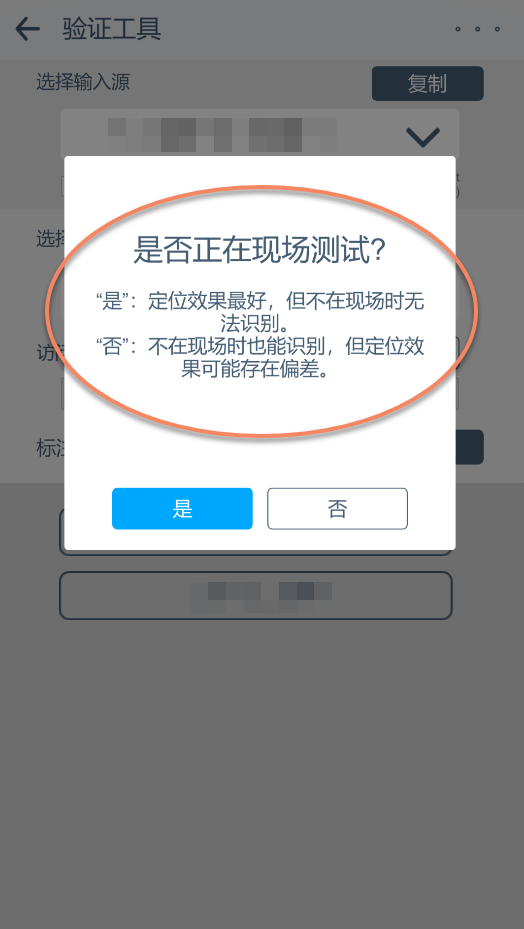
Please make the selection according to the real situation. If you are localizing against a picture or video, please select "No". An incorrect selection will lead to localization failure (there will be no other phenomena).
Trigger Localization
After the tracking initialization is completed, you can start the localization.
Localization Page
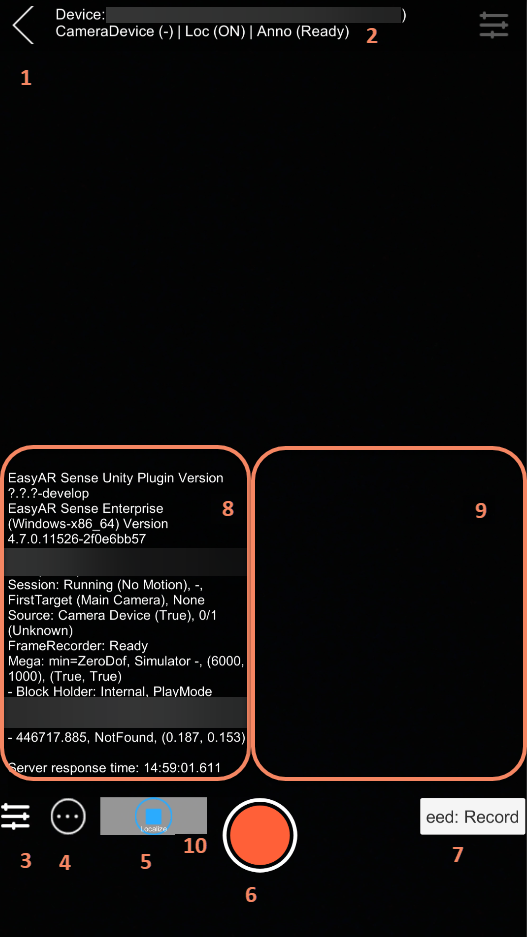
- Exit the current page (When exiting the page, if you are recording eif, please make sure to click the stop button first)
- Key device information (The displayed content is:
Input source (tracking status)|Localization (on/off status)|Annotation data (loading status)) - Expand/collapse advanced settings
- Hide/show status information
- Stop/start localization
- Record/stop recording EIF data (If there are effect problems, please record EIF data while localizing and report it to the EasyAR team immediately)
- Record eed dump data (Please record and report the data according to the requirements of the EasyAR team)
- Information area (Click to copy)
- Error information area
- Localization status indicator
Colors of the Localization Status Indicator
Green: When a block is localized and the device motion tracking is normal, it shows green. If there is no new localization result, it will fade to transparent within 5 seconds. Yellow: When a block is localized but the device motion tracking fails, it shows yellow. If there is no new localization result, it will fade to transparent within 5 seconds. White: When no block is localized, it shows white. If there is no new localization result, it will fade to transparent within 5 seconds. Red: When there is a localization error, it shows red and remains displayed until the next localization result is returned.
Note
Please pay special attention to the content displayed in 9. Information area, which includes the current device status, ARSession status, localization service status, and request results (updated asynchronously).
When localization is successful, the name of the localized block will be displayed, and the content of the selected annotation data will be shown in the space.
Data Recording
Collect EIF data when localization is abnormal for offline analysis and algorithm optimization.
Click the
red circlebutton to start recording.
Click the
red squarebutton to end recording.

Data Export
For data export reference, see: EIF Data Export