On-site validation and diagnostic tools
Mega Toolbox (Mini Program) is used to validate Mega positioning effects based on WeChat Mini Programs (using xr-frame), supporting rapid validation and on-site testing.
Pre-operations for annotation
Using Mega annotation data can intuitively reflect current positioning effects (whether virtual objects exhibit jitter, drift, etc.)
Before using the tool for validation, it is recommended to read Annotation Toolkit Component, Annotation Dataset Component and complete annotations as described.
Access method
Scan the WeChat Mini Program QR code

Login account
Use your EasyAR Developer Center account to log in. After the first successful login, the account and password will be auto-filled.

Enter username.
Enter password.
Login button.
Selecting positioning library and annotation data
Select the positioning library and corresponding annotation data to be used
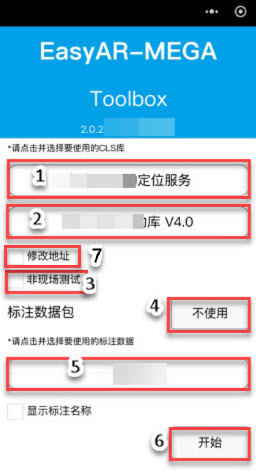
Select the positioning service group where your map resides.
Select the positioning library where your map resides.
Whether conducting on-site testing. If on-site, do not check this box.
If not using annotation packages, click "Do not use" to enter the positioning interface.
When using annotation packages, annotation data corresponding to the map is listed here. Select the required annotation package for positioning validation.
After selecting the annotation package, tap the "Start" button to enter the positioning interface.
Do not check "Modify address" by default. Modify only under special circumstances with guidance from the EasyAR technical team.
Entering the positioning interface
After entering Mega Toolbox (Mini Program), initialize by pointing at texture-rich scenes before positioning.
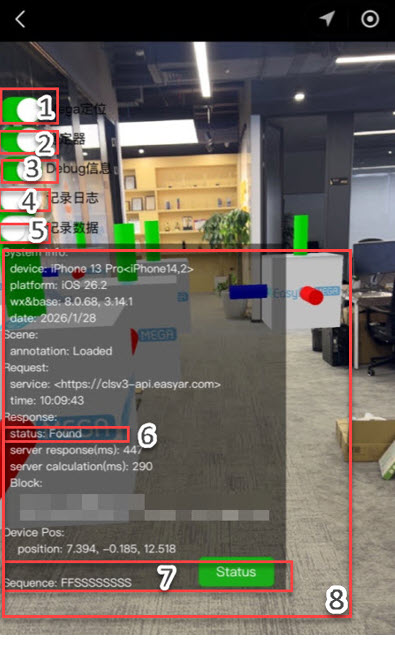
Mega positioningis enabled by default. When enabled, normal positioning operations can be performed.Stabilizeris enabled by default. If disabled, virtual objects may exhibit jitter.Debug informationis enabled by default. When enabled, detailed log information will be displayed.Record logsrequired when providing feedback for issues.Record dataessential data required when providing feedback.Displays current positioning status:
Found,Not Found, error prompts, etc.Displays historical positioning status: success or failure.
Sindicates successful positioning,Findicates failed positioning.Detailed log information.
Reporting abnormal positioning data
When encountering positioning issues like jitter, drift, or misalignment, send data and logs to the EasyAR Technical Support Team.
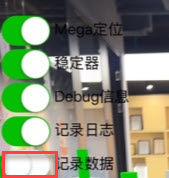
- Tap the
Record databutton. A prompt indicating data recording has started will appear on screen.
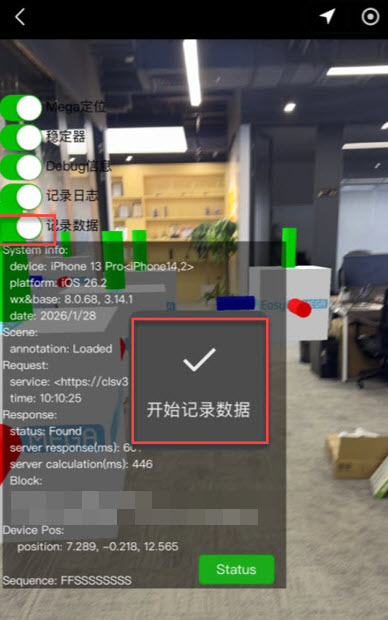
- To end recording, tap the
Record databutton again.
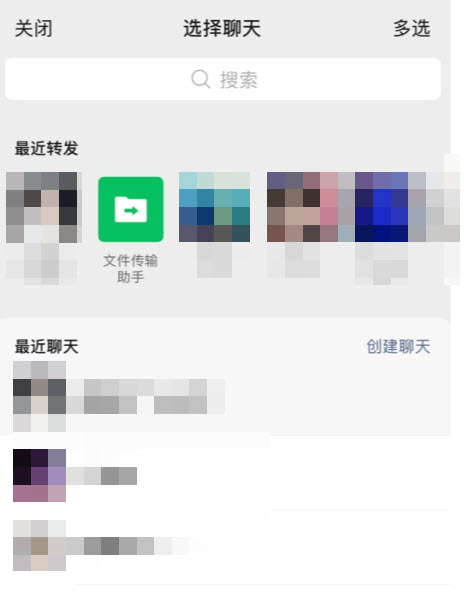
- In the pop-up sharing interface, send the file to "File Transfer" and finally forward it to the EasyAR Technical Support Team.
- Steps for
Record logsare similar toRecord data. Ultimately, send the log file to the EasyAR Technical Support Team.