Implementing Occlusion with EasyAR Mega in Unity
Occlusion is a crucial technology for enhancing the immersion of AR's virtual-real fusion. This article will introduce how to achieve occlusion effects in Unity using EasyAR Mega.
Before You Start
- Complete Quick Start with EasyAR Mega Unity Samples.
- Be able to Create Content Aligned with the Real Scene.
Implementation Methods of Occlusion
Offline Modeling: In the Block coordinate system, create 1:1 matching geometries for real-world entities (such as walls, columns, and large equipment); or obtain an optimized model by cropping and reducing the faces of the Block dense model.
Runtime Alignment: At runtime, align the Block coordinate system with the real space through cloud positioning and load the corresponding geometries.
Material Replacement: Assign special occlusion materials to these geometries.
Visual Effect: When the GPU renders other virtual objects, the pixels of the occluded parts will be automatically culled because the depth test fails, so that the virtual objects follow the occlusion logic of the real physical space.
Using Geometries as Occlusion
Follow the steps below to add geometries for occlusion to the scene and verify the effect.
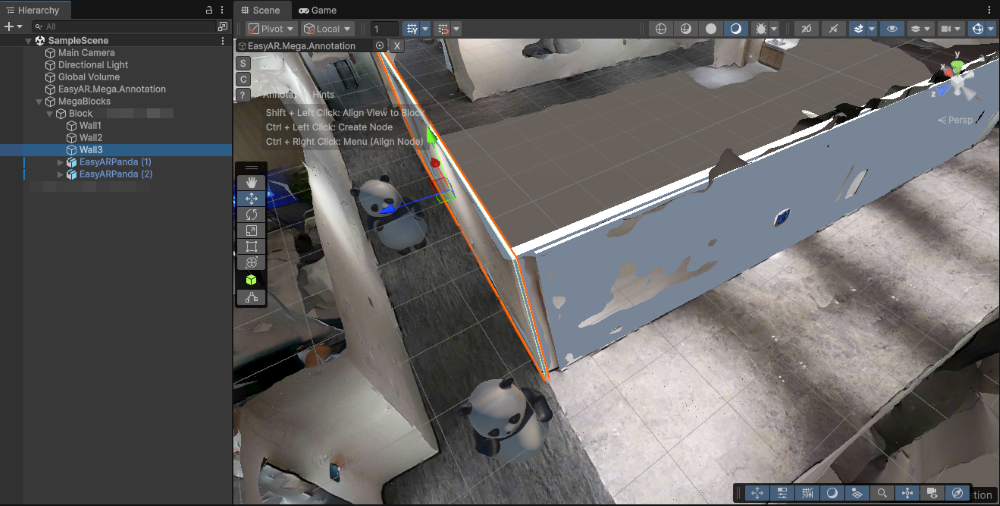
Place the Occlusion Geometries
Based on the dense model of Mega Block, use built-in geometries or self-built geometries as occlusion and place them in the correct position in the Block coordinate system.
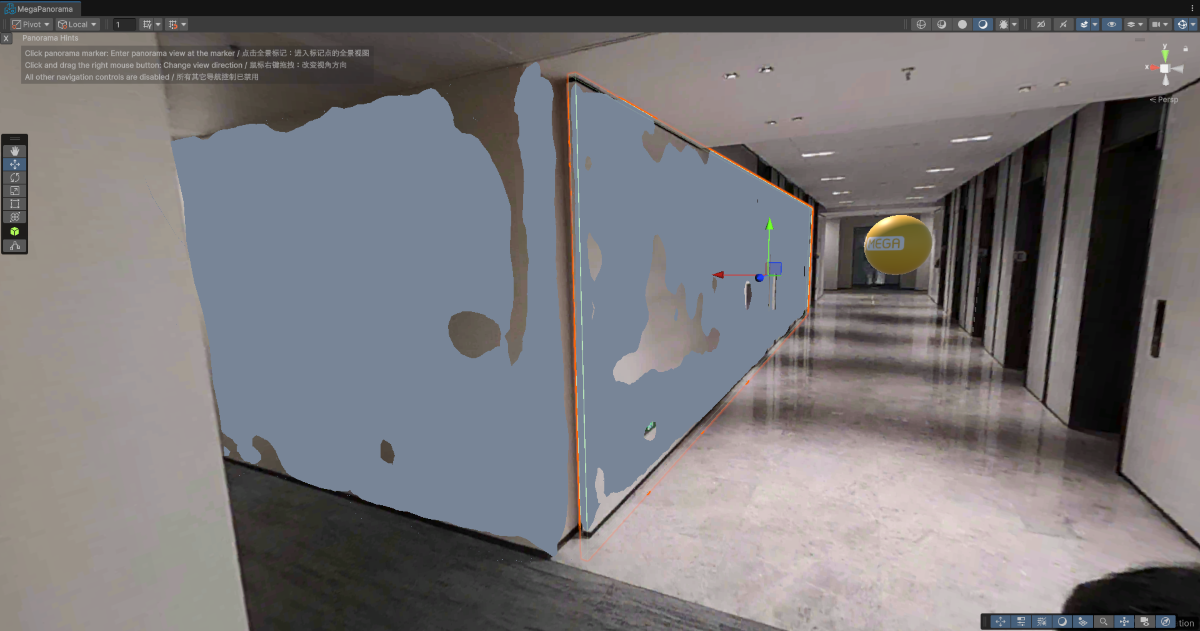
[Optional] Fine-tune the Position of the Geometries Based on the Panorama
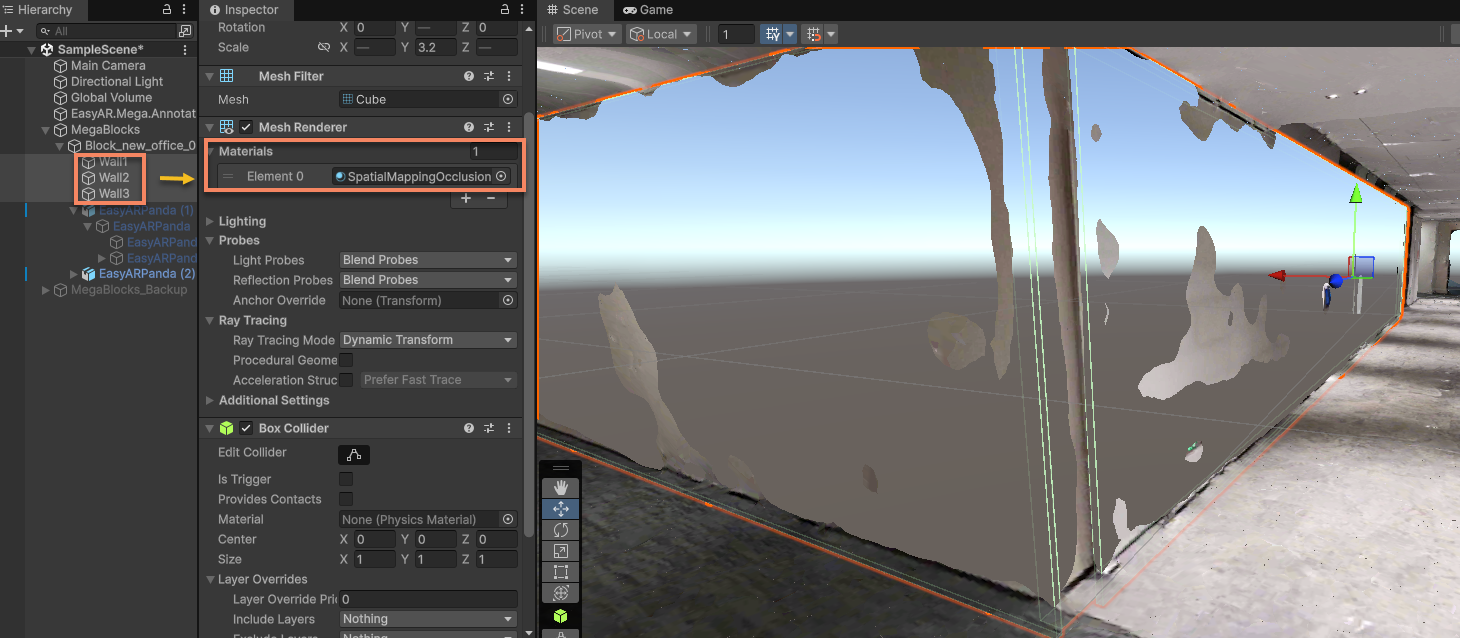
Assign the Occlusion Material to the Geometries
Change the material of the geometries to the occlusion material. You can use the SpatialMappingOcculusion provided by Unity.
Simulate the Run with EIF Data or Run on a Real Device
You can fine-tune the placement of the occlusion model based on the running effect.
Using the Cropped and Face-reduced Dense Model as Occlusion
Follow the steps below to crop and reduce the faces of the exported Mega Block dense model to obtain a white model for occlusion, and import it into the scene as occlusion.
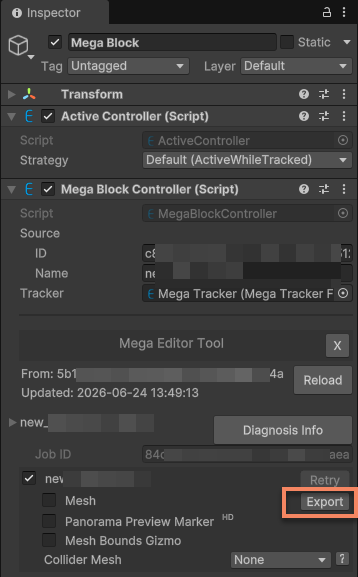
Export in Mega Blocks
Click the Export button on the right of Mesh to export the dense model.
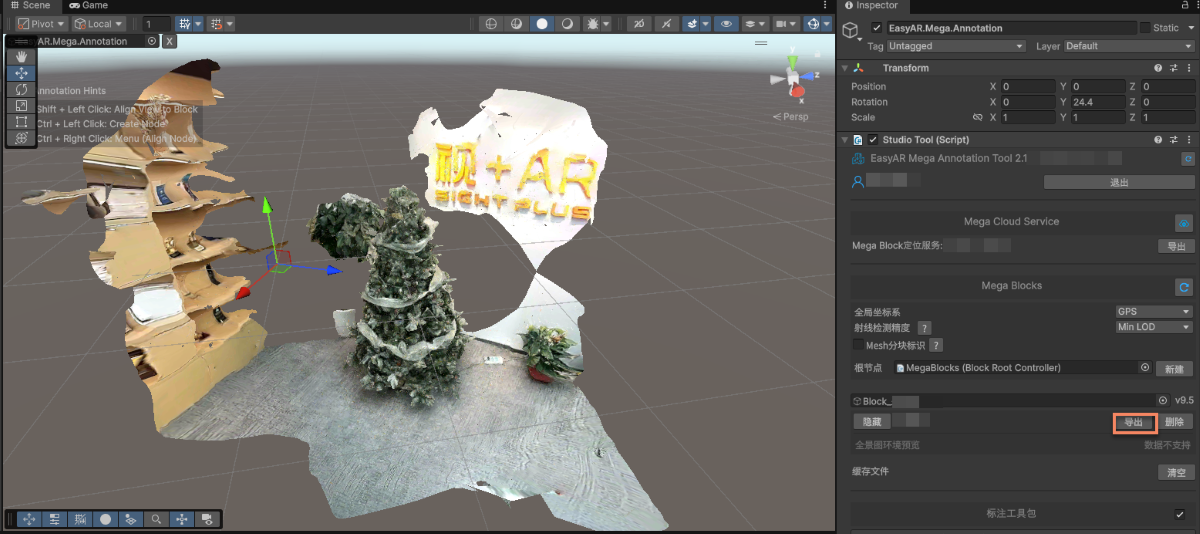
Modify the Export Options
Pay attention to modifying the export options when exporting.
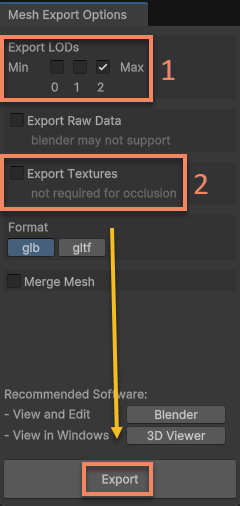
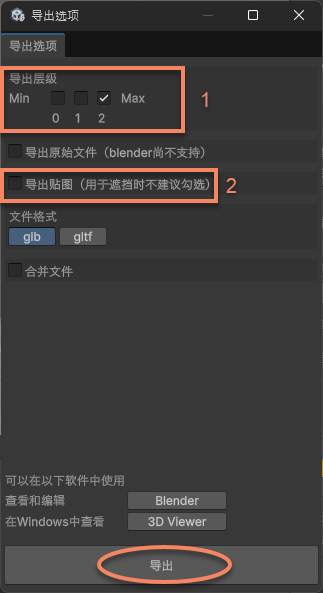
In the figure, 1 is the LOD level. The lower the level, the simpler the model and the fewer the number of faces. If the highest accuracy is required, select the highest level.
In the figure, 2 is the option to export textures. Here, only a white model is needed for occlusion, so no textures are required.
Crop and Reduce the Faces of the Model
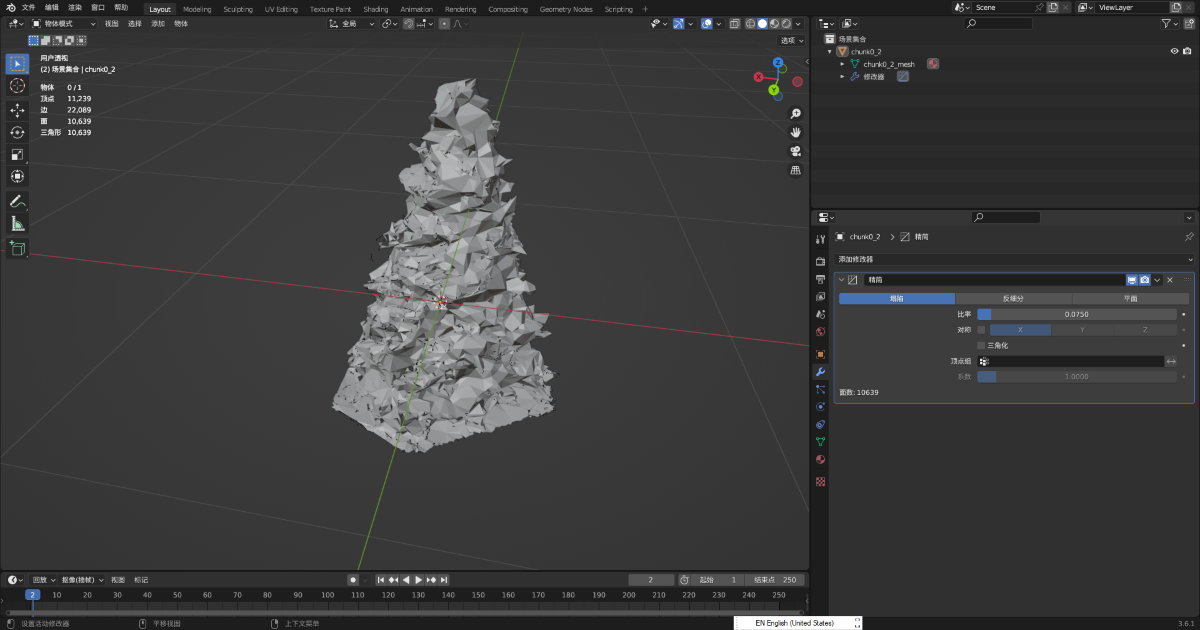
Crop and reduce the faces of the exported model in a digital content creation software (such as Blender), and save it as Glb.
Tip
The Decimate Modifier in Blender is used in the example.
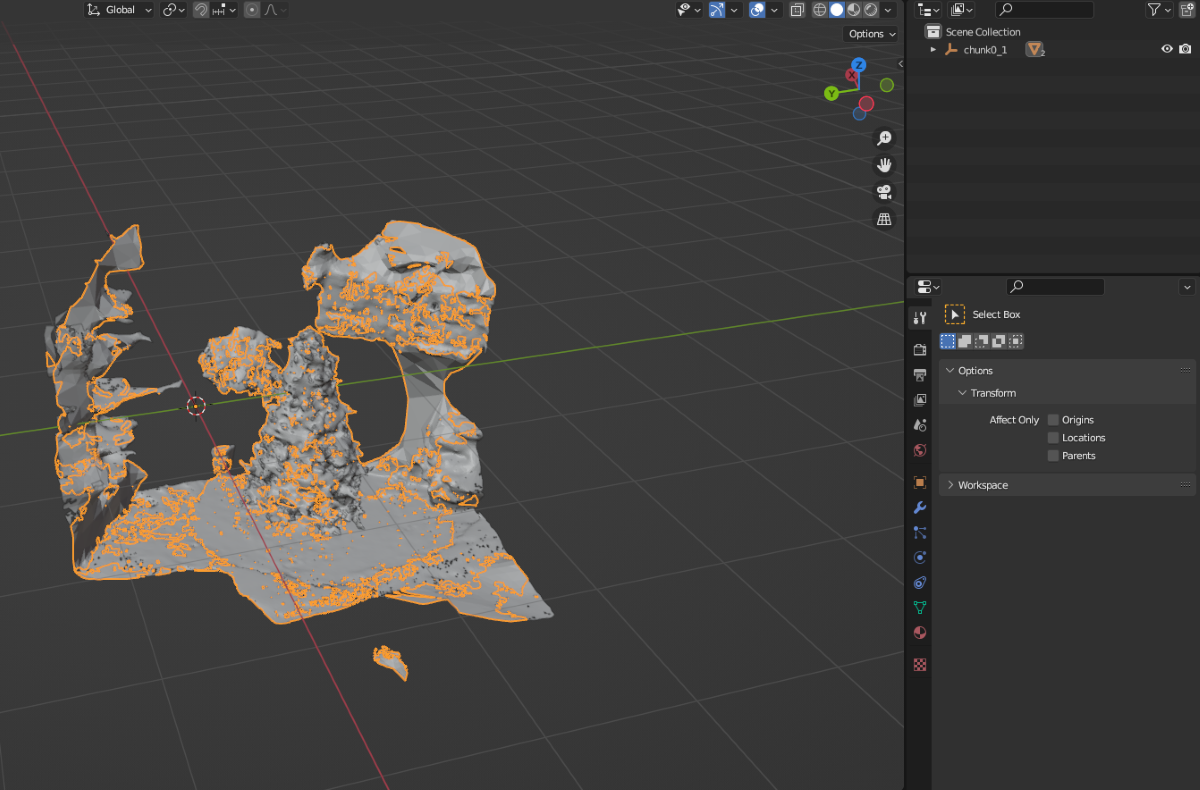
After cropping and reducing the faces:
Import the Occlusion Model into Unity and Mount it Under the Block Node in the Scene
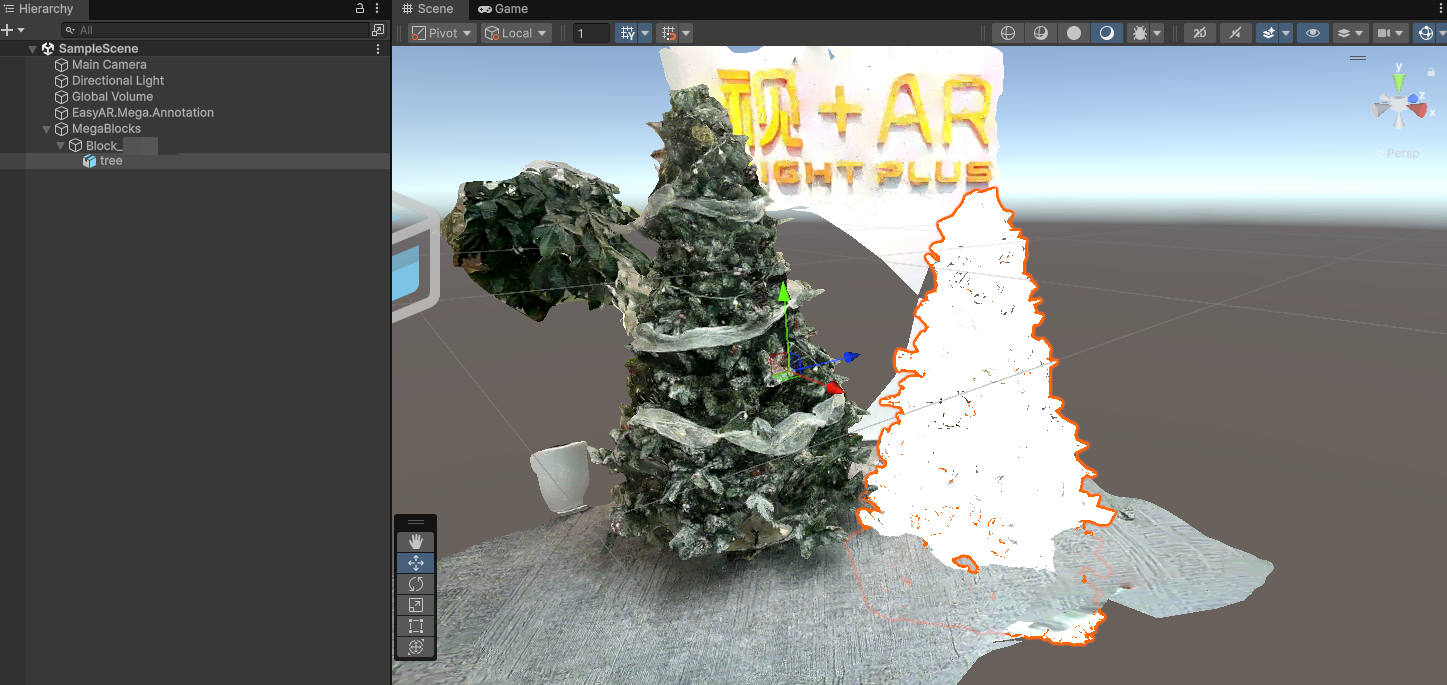
Modify the Transform of the Model
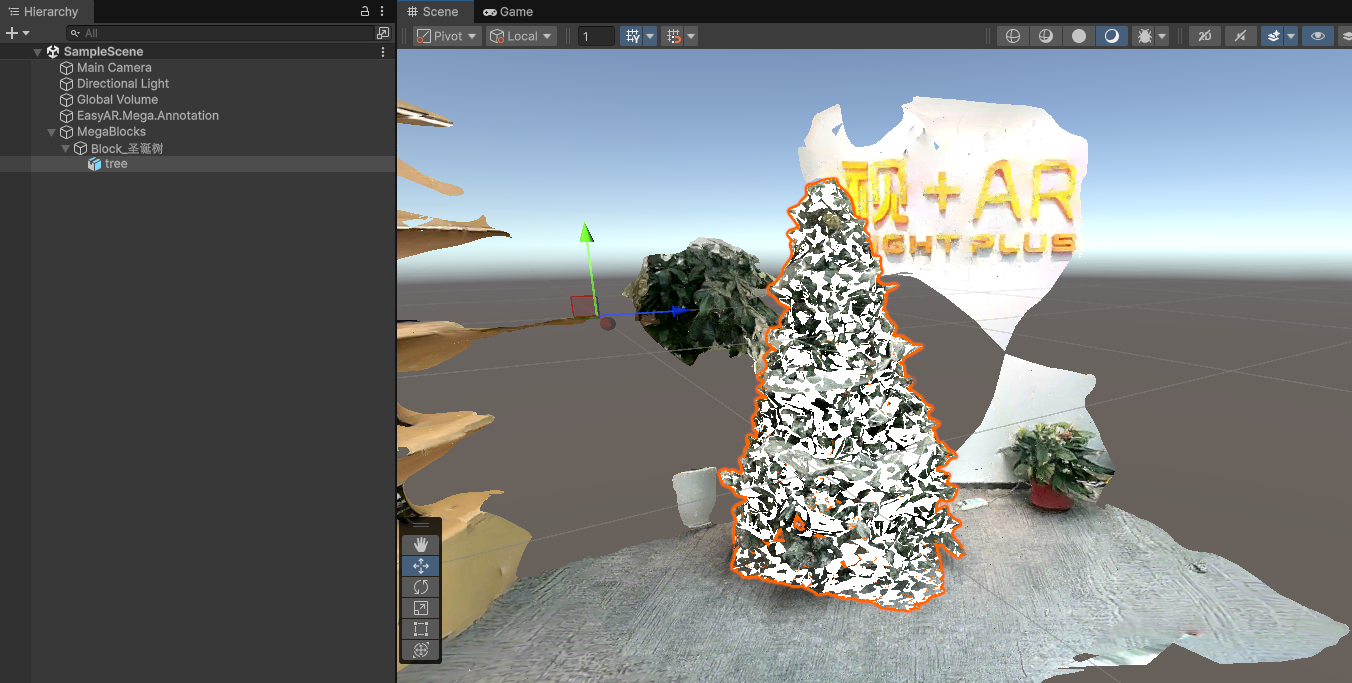
Modify the Transform of the model so that both Position and Rotation are all 0.
At this time, the white model for occlusion should fit the dense model because the definition of the Block coordinate system has not been changed during the cropping and face-reducing operations in the digital content creation software.
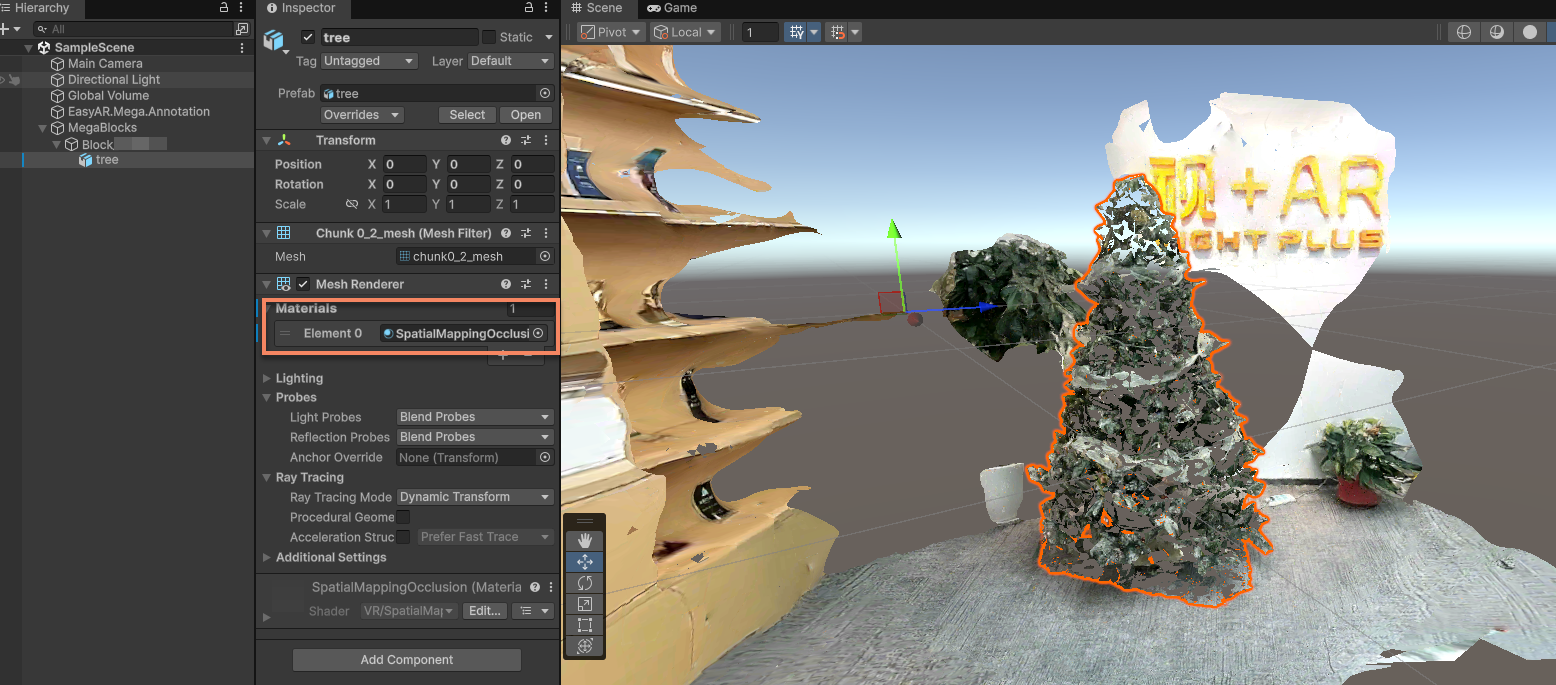
Assign the Occlusion Material to the Model
Change the material of the model to the occlusion material. You can use the SpatialMappingOcculusion provided by Unity.
Simulate the Run with EIF Data or Run on a Real Device
Simulate the run with EIF data or run on a real device to view the effect.
Expected Effects of Occlusion
The effects of occlusion are mainly affected by the following factors:
- The accuracy of positioning and tracking itself
- The accuracy of model placement
- The accuracy of the model itself (if it is not a simple geometry)
It is normal for a misalignment of a few centimeters to occur during positioning drift.
Too many faces in the occlusion model can easily affect performance. It is recommended to use it only in necessary areas and try to use simple geometries as occlusion.