Create a Laser Acquisition Task (Qiyu)
This article details the complete operation process of a laser acquisition task (Qiyu), including task creation, data upload, and mapping process instructions, etc., to help users standardize the full - process operation of the Qiyu laser acquisition and mapping task.
Create a Qiyu Acquisition Task
After creating a project, click Manage to enter the mapping task management interface. Click the Qiyu Acquisition Task button in the upper - right corner. In the pop - up dialog box, enter the task name, select the mapping version and data format (it is recommended to use the latest version). After filling in, click Confirm and Add to create a Qiyu acquisition task.

Data Preparation
Before starting the mapping task, it is necessary to ensure that the collected spatial data meets the requirements and is sorted and stored according to the specifications. The following content will detail data collection and export.
Data Collection and Export
Use a laser scanner to collect spatial data. For relevant device configuration and collection points, please refer to:
Upload Data
Click Upload Data, and select the corresponding options in the pop - up window. For specific option descriptions, please refer to the following:
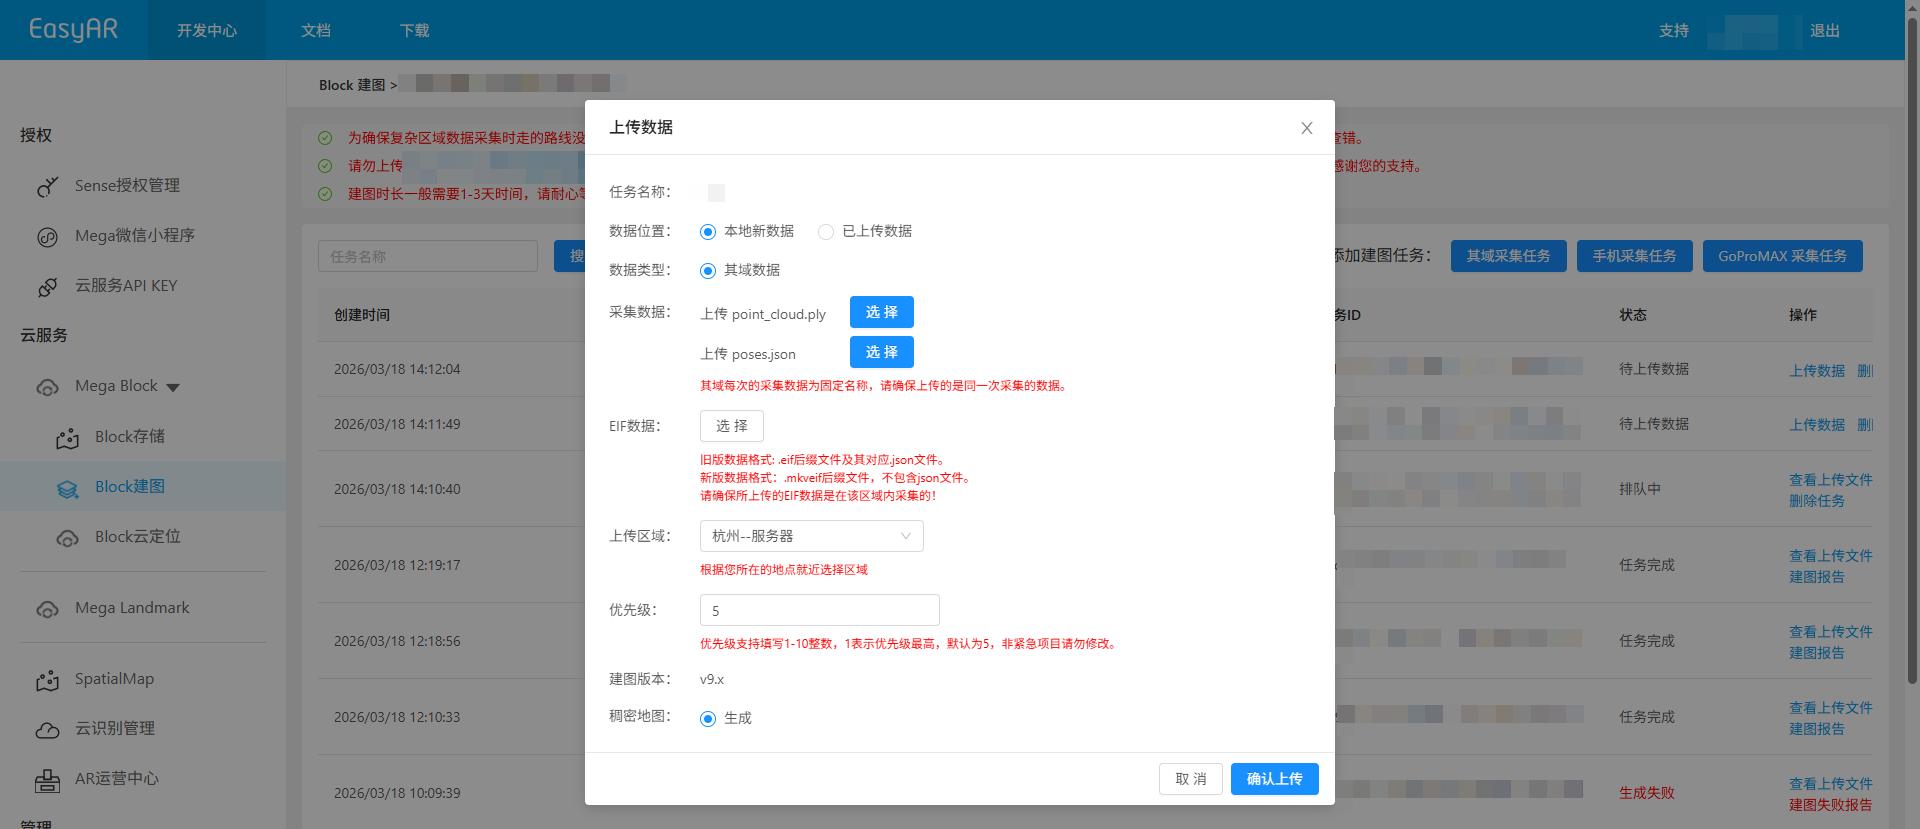
Data Location
Due to the different regions where the mapping projects are located, the available data upload methods are as follows:
China Region 1
According to the data source and storage method, you can choose any of the following methods:
- New local data
- Already uploaded data
Global
Only the upload method of 「New local data」 is supported.
Collected Data
Upload the
point_cloud.plyfile. ClickSelect, select the specified file in the directory, and then clickOpen.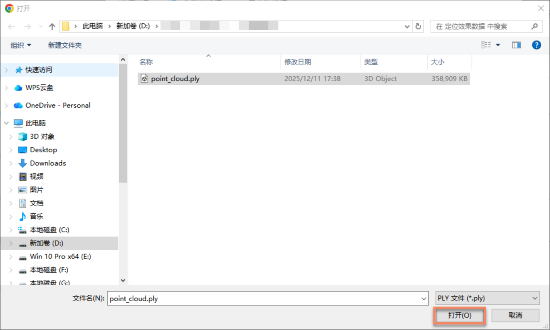
Upload the
poses.jsonfile. ClickSelect, select the specified file in the directory, and then clickOpen.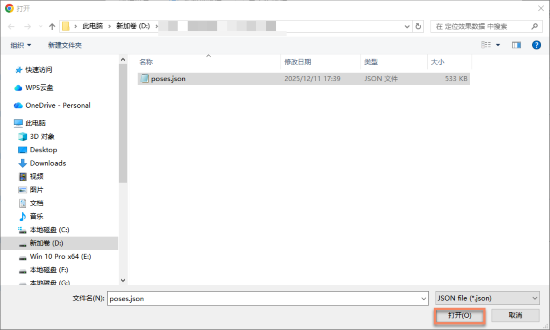
Note
The collected data of Qiyu each time has a fixed name. Please ensure that the data uploaded is from the same collection.
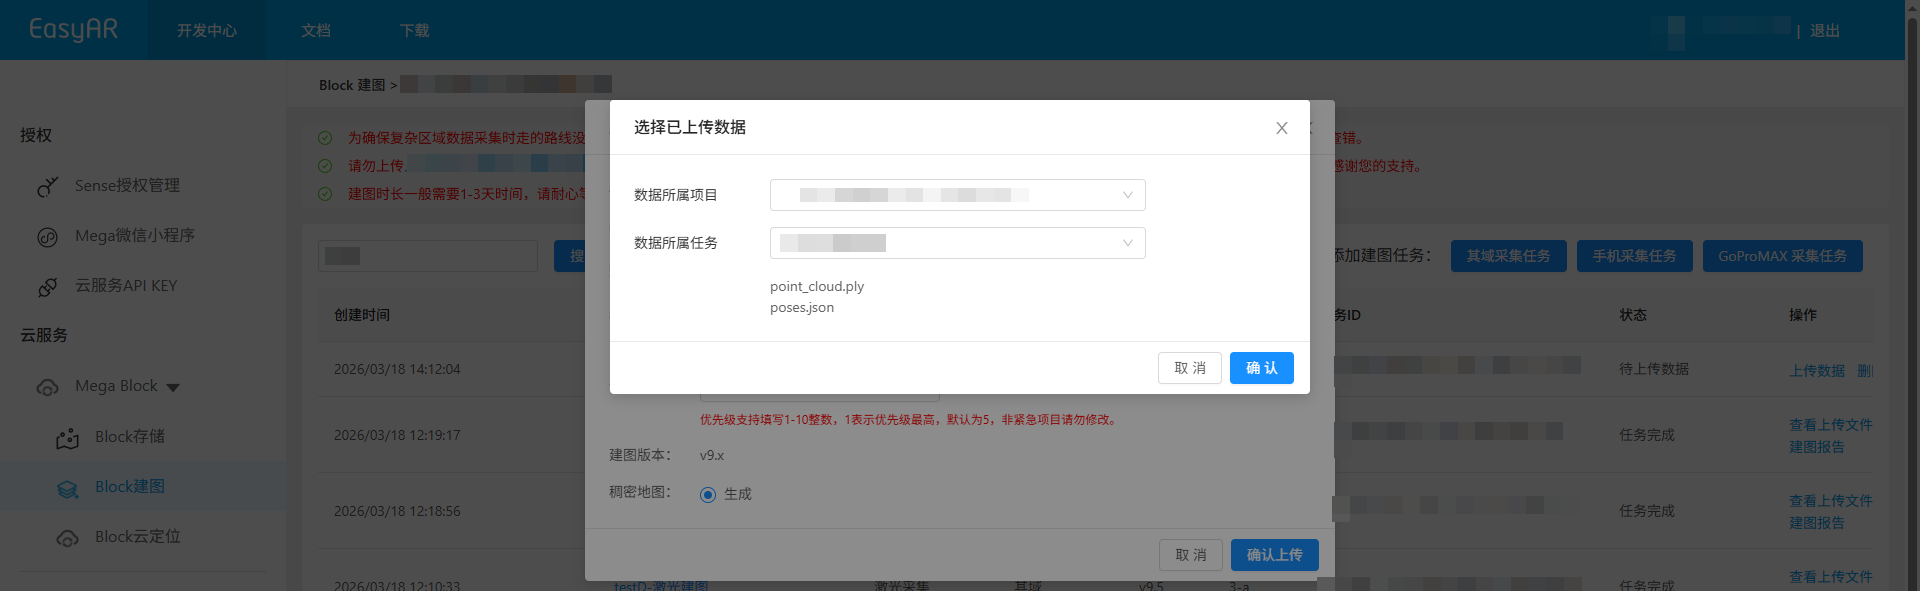
Confirm Upload
- After clicking the
Confirm Uploadbutton, the upload progress and status will be displayed in the list. - During the data upload process, please keep your computer powered on and the network connected. Do not close the browser, refresh the page, or click other menus. Otherwise, the upload will be interrupted and you need to start over.
Start Mapping
After the data upload is completed, the mapping process will start automatically, and the status will be displayed as In queue or Generating, as shown in the following figure. Please wait patiently for the mapping to complete.

Auxiliary Functions
The following functions can help you better manage and operate mapping tasks and improve work efficiency:
View Uploaded Files
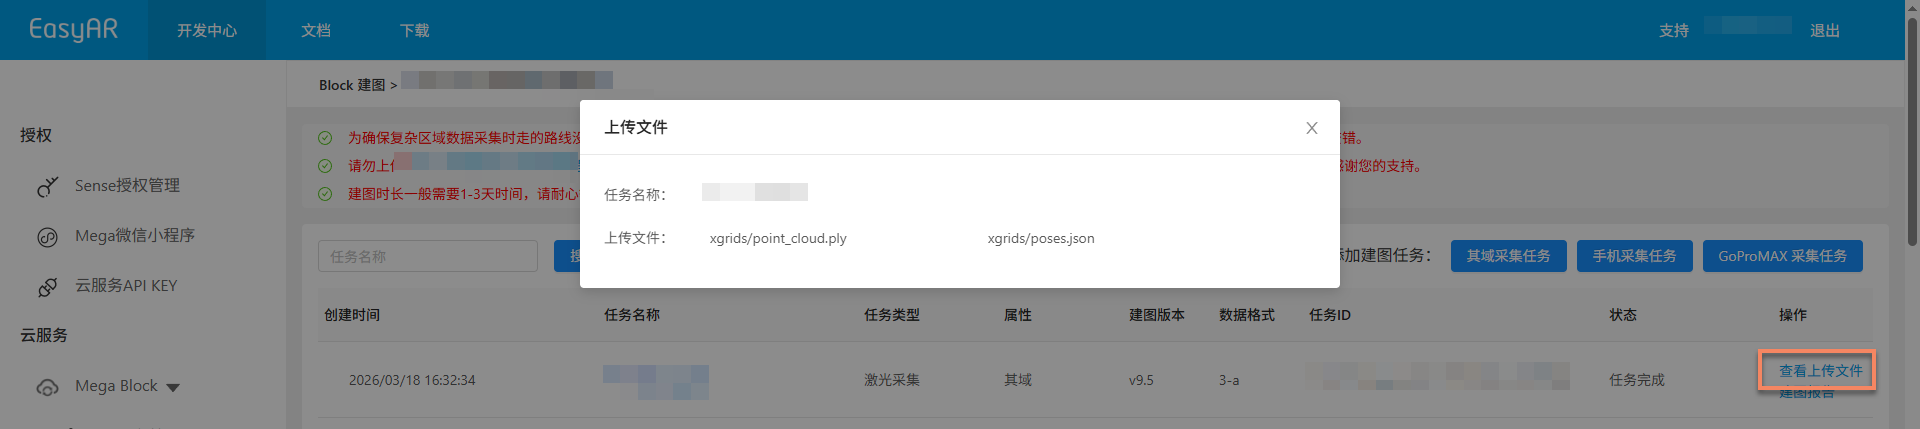
Click the View Uploaded Files button. In the pop - up window, view the list of all uploaded files to confirm whether the files are completely uploaded and avoid mapping failure due to missing files.
Stop Mapping
Before the mapping task is completed, if you find that the wrong data is uploaded or the trajectory map data does not match the actual situation, you can click the Stop Mapping button. In the secondary confirmation pop - up window, click Confirm to stop the mapping.

Delete Task
If the current mapping task fails to generate or is no longer needed, you can click the Delete Task button to delete the task. In the secondary confirmation pop - up window, click Delete to complete the deletion operation.

Confirm Mapping Results
After the task enters the mapping process, you can judge whether the mapping task is completed through the Task Status. When the status is displayed as Task completed or Generation failed, it means that the mapping task has ended.

Mapping Success
When the task status is displayed as Task completed, it means that the mapping is successful and the mapping results have been generated. At this time, you can further view the mapping results to confirm whether they meet the expected requirements.
View the mapping results:
- Review the collection route
- View the mapping report
- View Block information
- Preview the spatial model
- After using Qiyu data for mapping, you can also use Qiyu LCC 3D Gaussian splash data to assist in content placement
Mapping Failure
When the task status is displayed as Generation failed, it means that the mapping has failed. It is recommended to troubleshoot the problem in the following ways:
- View the mapping report: View the mapping report and find solutions based on the report information.
- Refer to troubleshooting: Consult the Mapping Failure Troubleshooting Guide to obtain solutions to common problems.
- Contact technical support: If the above methods do not solve the problem, please contact EasyAR staff and provide the
JobIDin the mapping report to quickly locate the problem.