Change localization service data format
This article details how to switch the data format of the cloud localization library, including the operation steps for changing the data format on the cloud localization library list page and within the cloud localization library management interface.
Enter the cloud localization service management interface
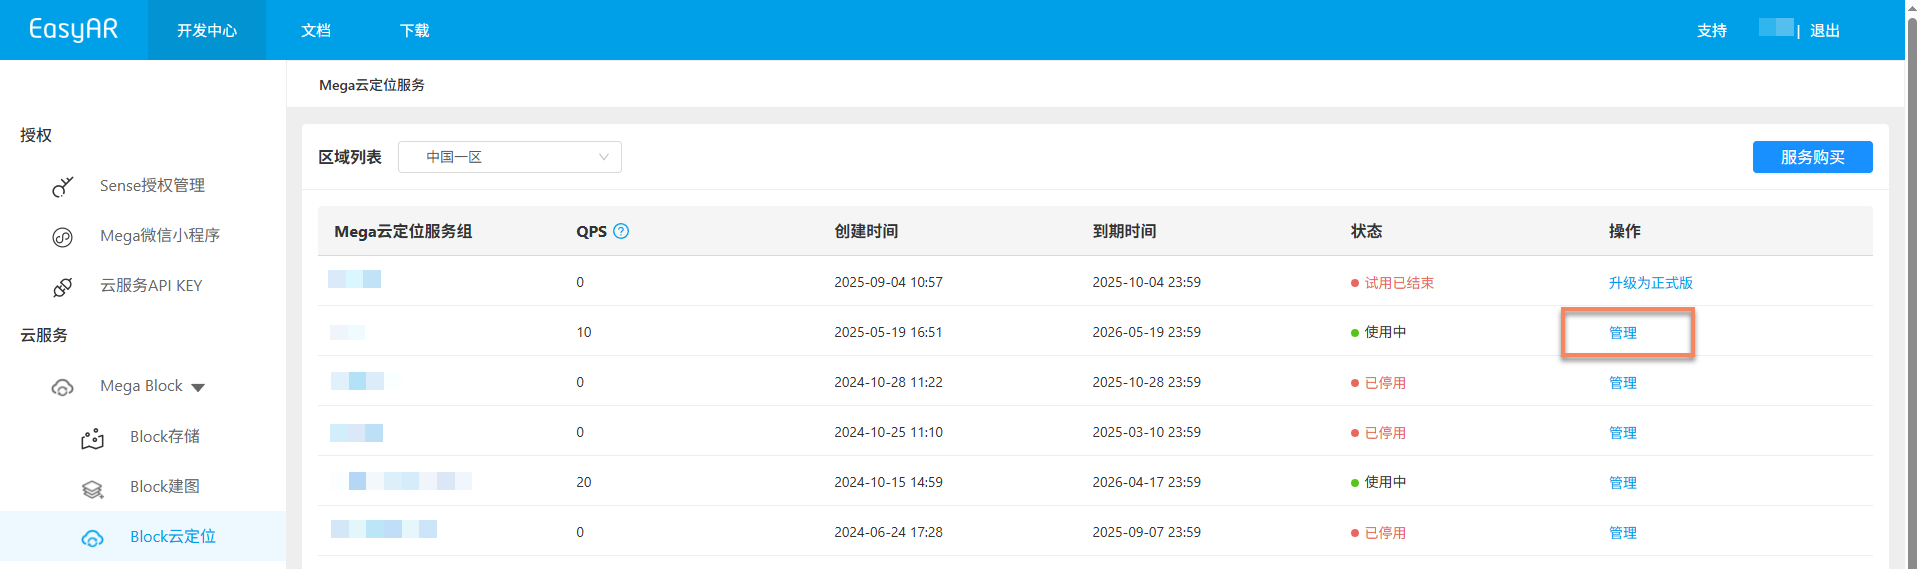
Log in to the EasyAR Developer Center, select Mega Block -> Block cloud localization from the left menu bar, choose the corresponding Mega cloud localization service group, and click Manage.
Select data format switching method
There are two ways to switch the localization service data format:
Switch on the localization library list page
After entering the cloud localization library list page, click the Switch button next to the data format of the corresponding cloud localization library to open the change data format pop-up.

Switch in the localization library management interface
Select the corresponding cloud localization library and click the
Managebutton to enter the cloud localization library management interface.
After entering the cloud localization library management interface, click the
Switchbutton next to the data format in the cloud localization information section to open the change data format pop-up.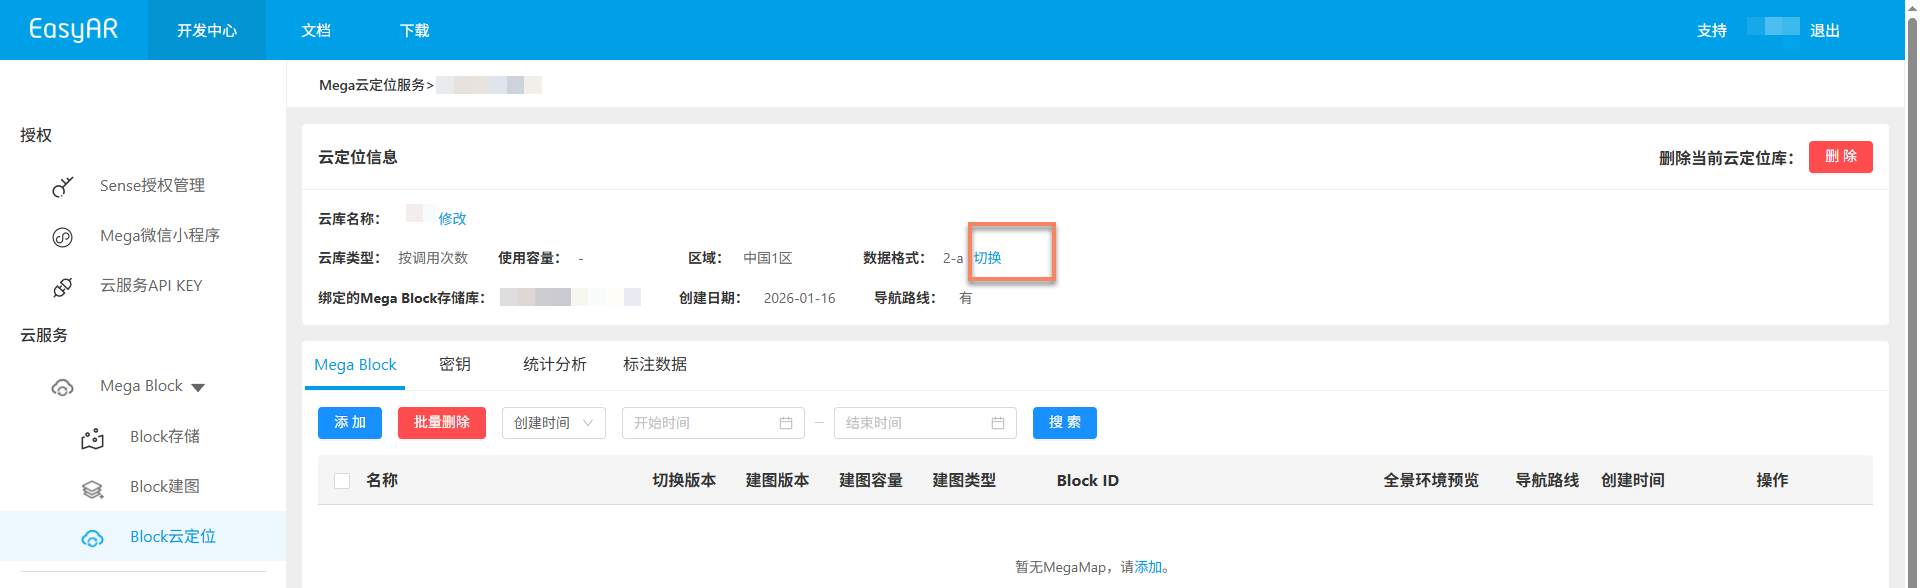
Confirm data format change
Select the corresponding data format in the pop-up change data format window.
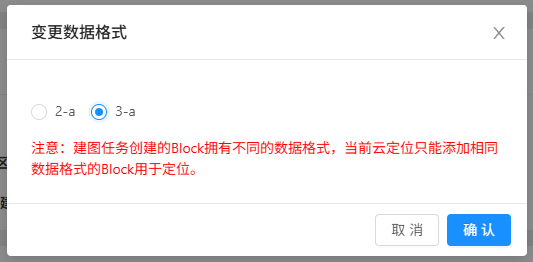
After clicking the
Confirmbutton, a secondary confirmation pop-up will appear.Click
OKto successfully change the data format.
Important
Note: Changing the data format will clear all maps added to this cloud localization library. After successful change, please add them again.