Updating localization services using lossless update results
This document details how to add lossless-updated mapping result Blocks to the cloud localization library for use with Mega-related features in practical applications.
Accessing the cloud localization library management interface
Log in to the EasyAR Developer Center, select
Mega Block->Block cloud localizationfrom the left menu bar, choose the corresponding Mega cloud localization service group, and clickManage.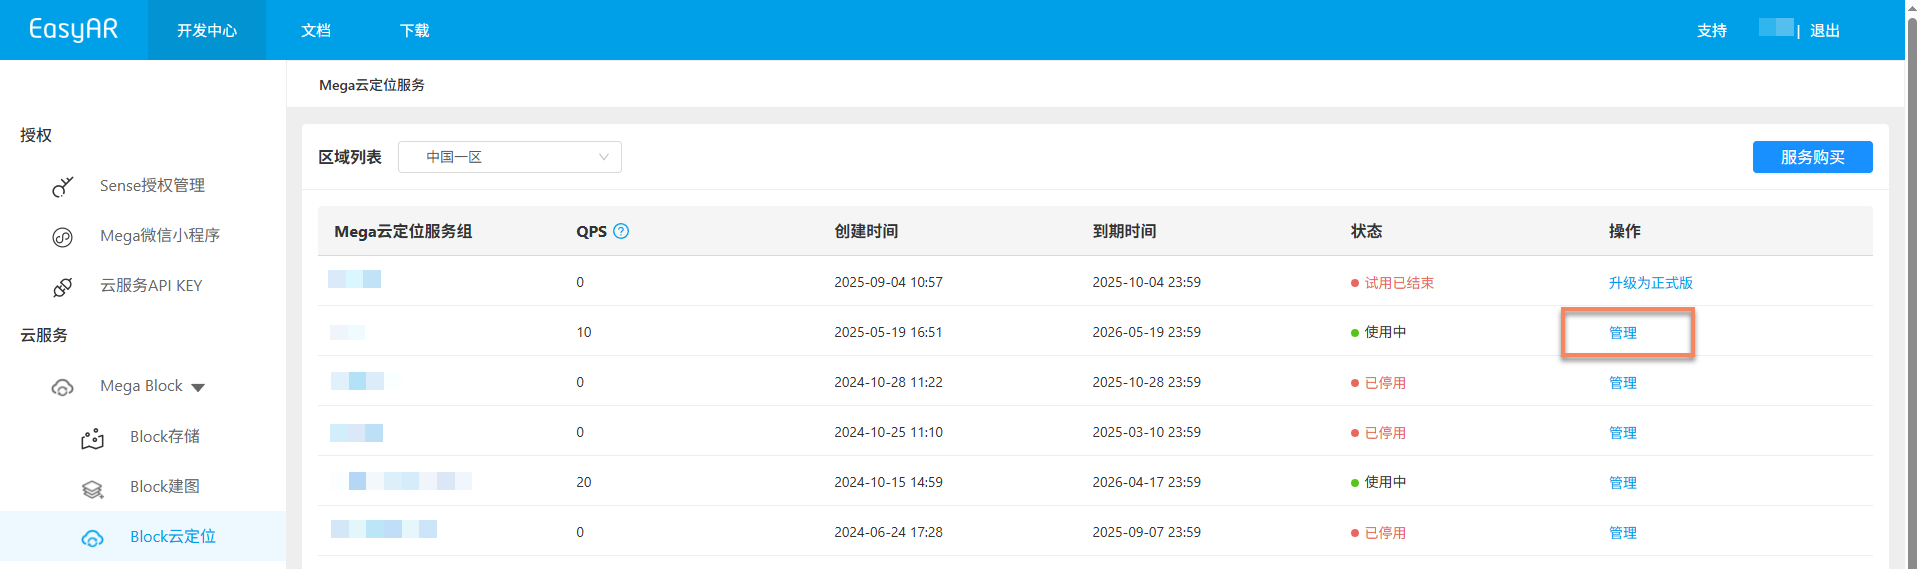
Select the corresponding cloud localization library, click the
Managebutton, and enter the cloud localization library management interface.
Loading lossless update result Blocks
Choose the appropriate operation based on whether the original Block is still in the cloud localization library:
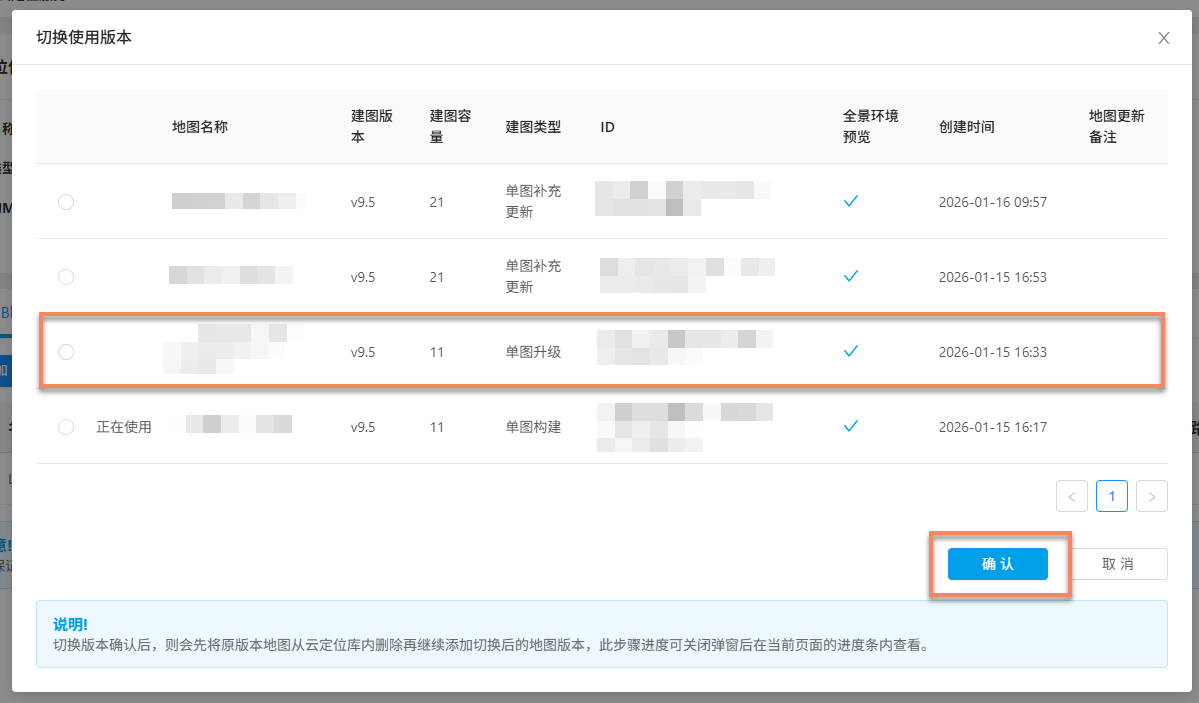
Original Block is still in the cloud localization library
Click the
Switchbutton.
In the pop-up dialog, select the desired lossless-update Block, then click the
Confirmbutton.- After confirming the version switch, the system will first delete the original version map from the cloud localization library, then add the new version map.
- This operation will replace the existing Block.
After confirming the switch, you can view the addition progress on the page.
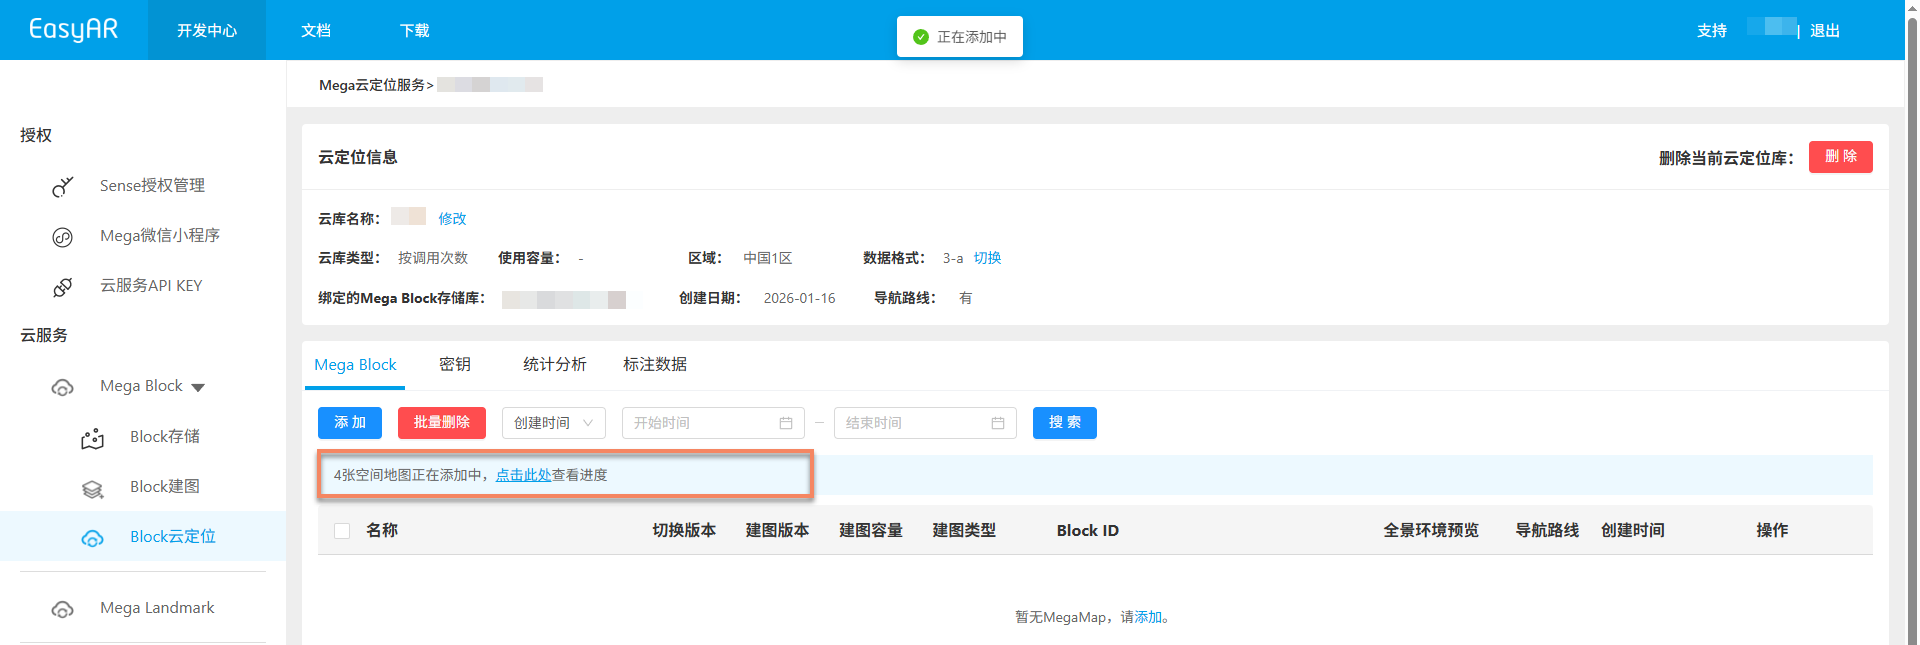
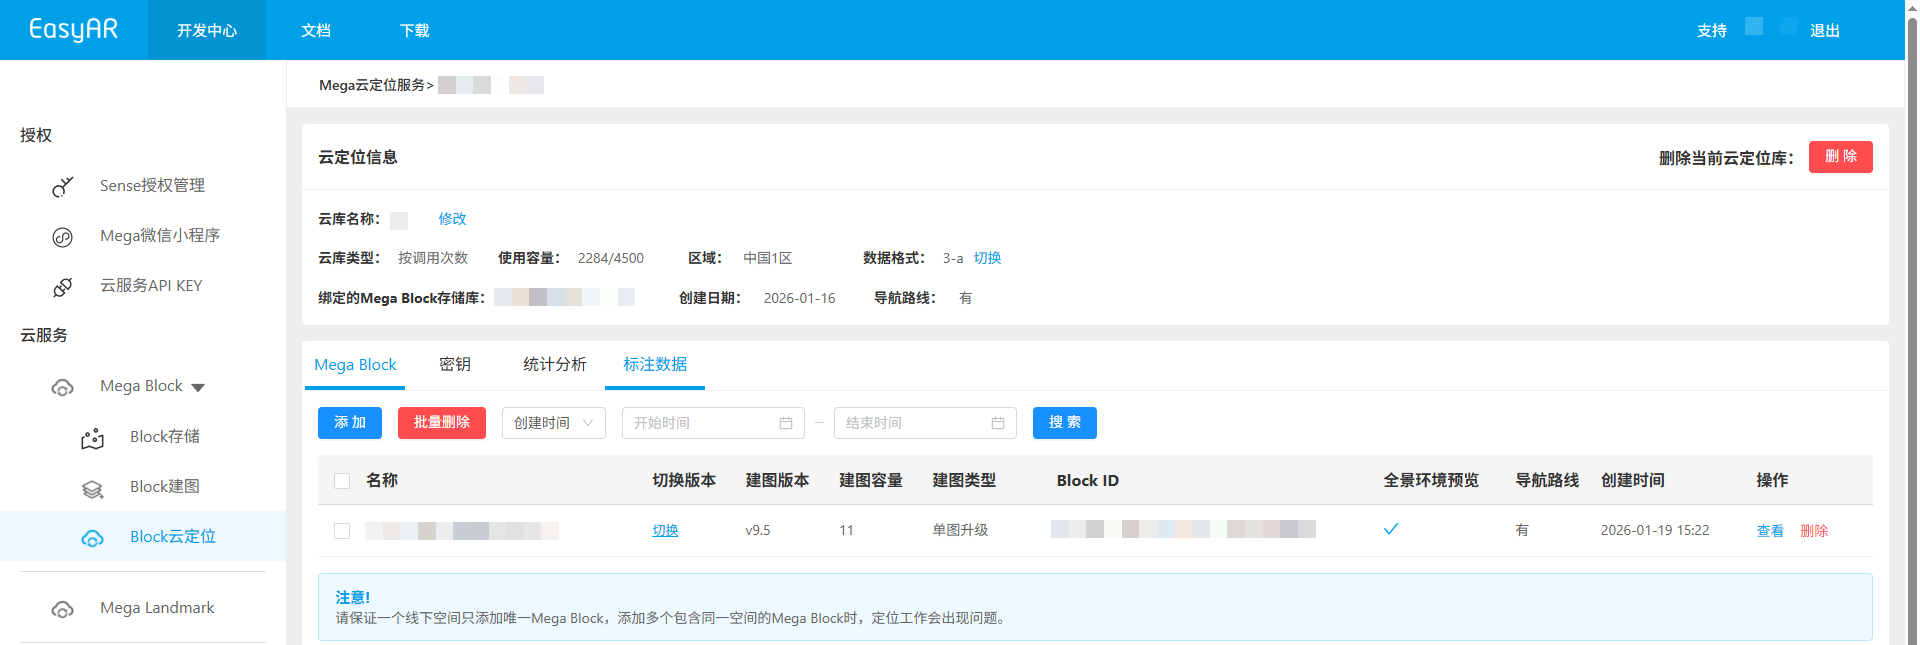
If the addition is successful, the corresponding Block will appear in the Mega Block list of the cloud localization library.
If the addition fails, click the
Clear taskbutton in the progress pop-up to re-add the Block.
Original Block is not in the cloud localization library
Click the
Addbutton.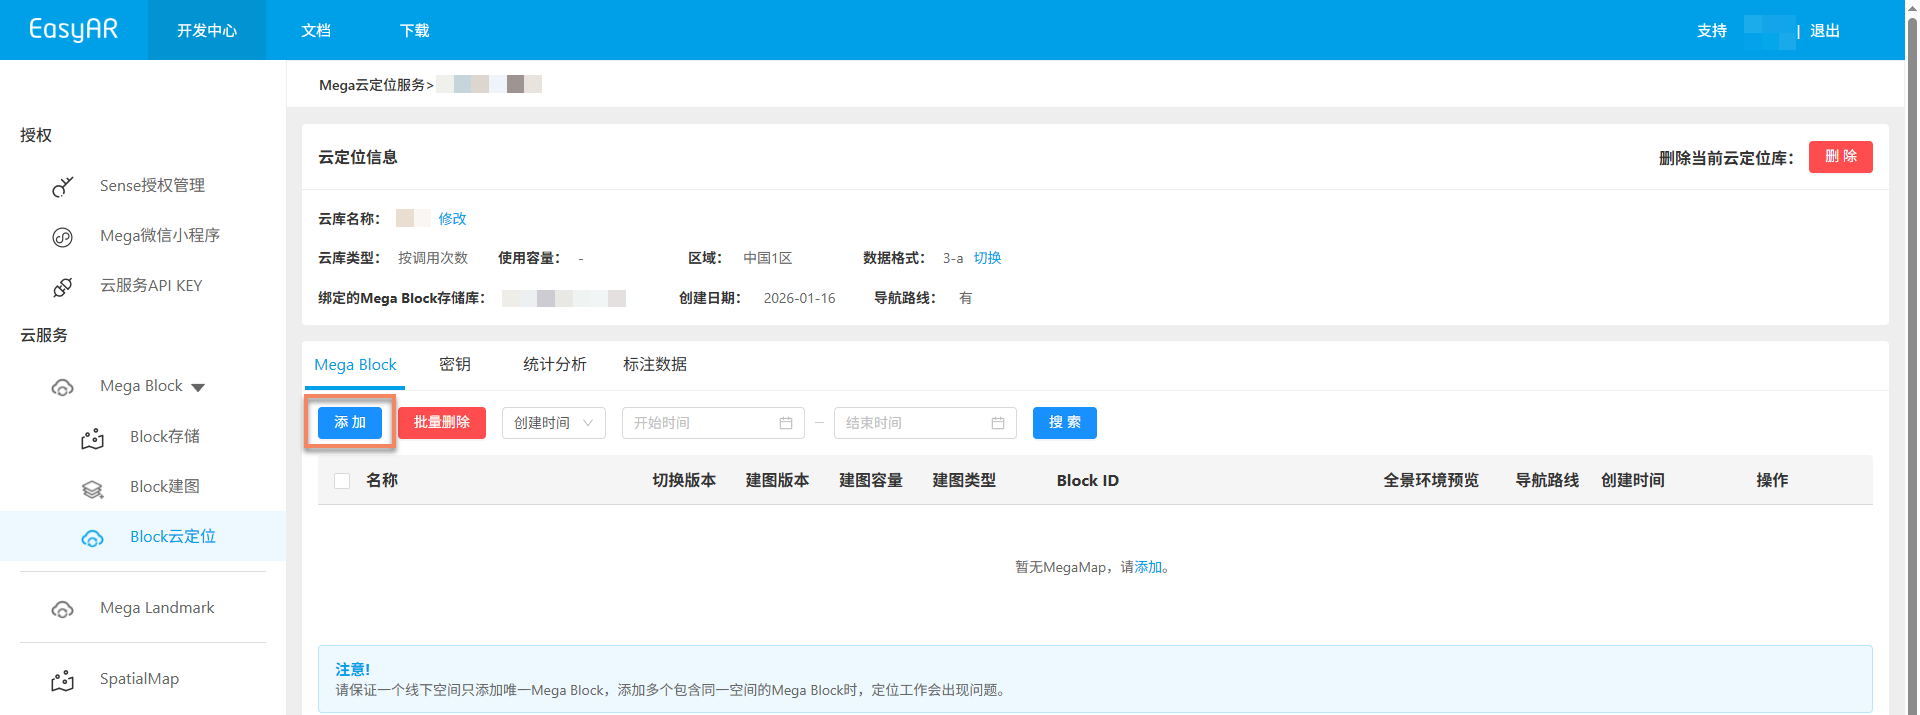
In the pop-up, select the corresponding parent map, click the
+button to view the corresponding lossless update Blocks, select the lossless-update Block to be added, then click theConfirmbutton at the bottom of the pop-up.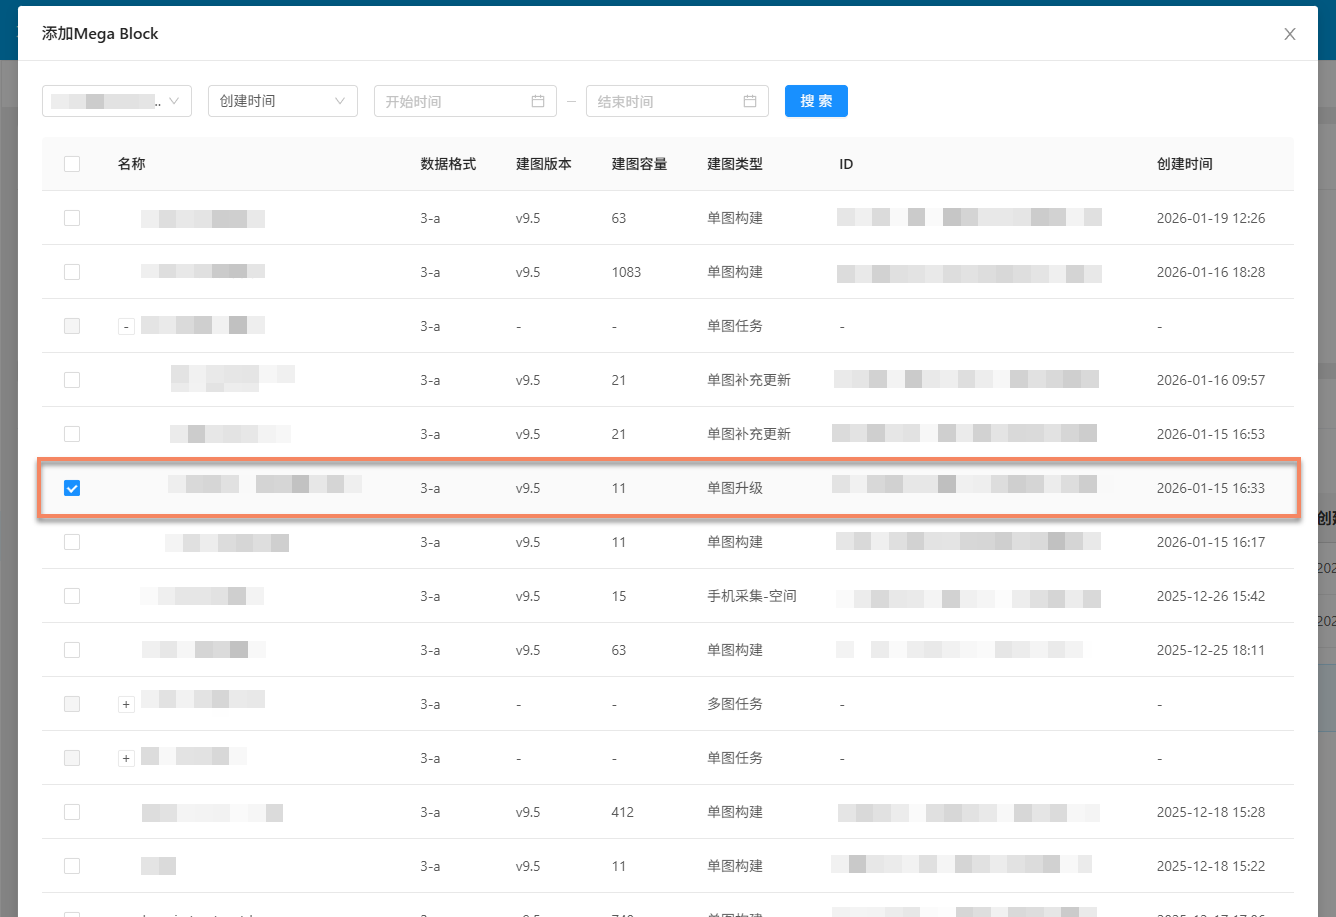
Note
- Only one Block can be added at a time
- The cloud localization library can only add Blocks in the same data format. Switch the library's data format if needed
- Different versions of cloud localization libraries have restrictions on Block mapping versions. Refer to the notes at the bottom of the pop-up for specific limitations
After confirming the addition, you can view the addition progress on the page.
If the addition is successful, the corresponding Block will appear in the Mega Block list of the cloud localization library.
If the addition fails, click the
Clear taskbutton in the progress pop-up to re-add the Block.