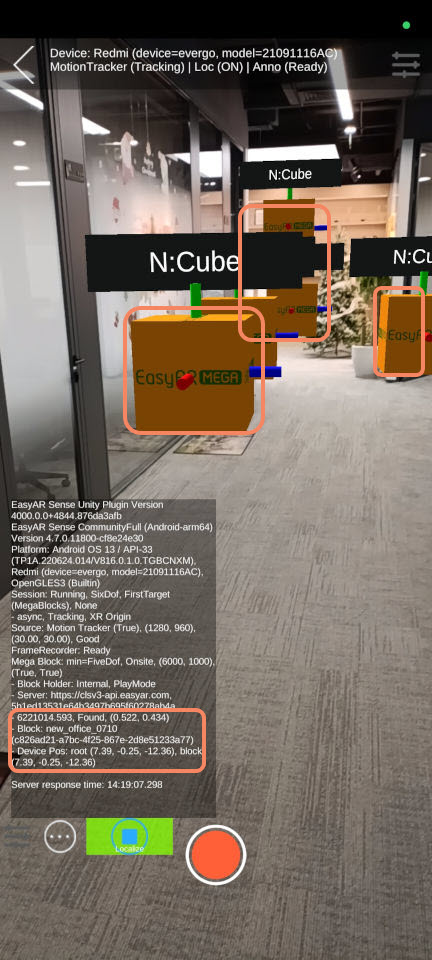
App Running Effect
This article introduces how to use the annotation data created in Mega Studio to verify the effect in the Toolbox App.
Note
The following content and tools are not applicable to the Unity application development process.
If you are developing a Unity application, please refer to Package a Unity Application for Effect Verification in the development guide.
Before You Start
Before viewing the real running effect, make sure you have completed the following tasks:
View the Effect
Run Mega Toolbox on your mobile phone. The operation steps are as follows:
- Select
On-site Verification and Diagnostic Tools.
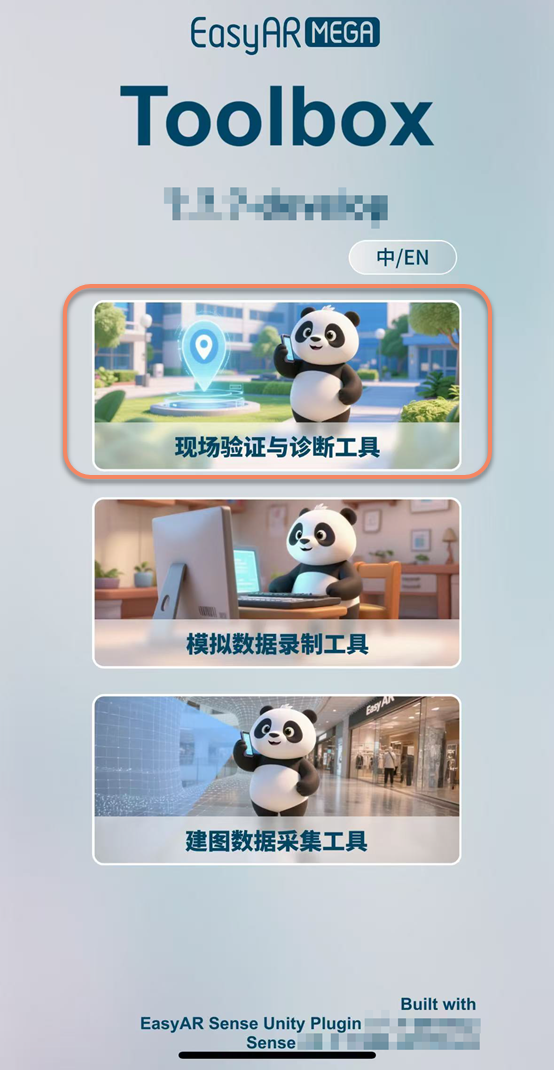
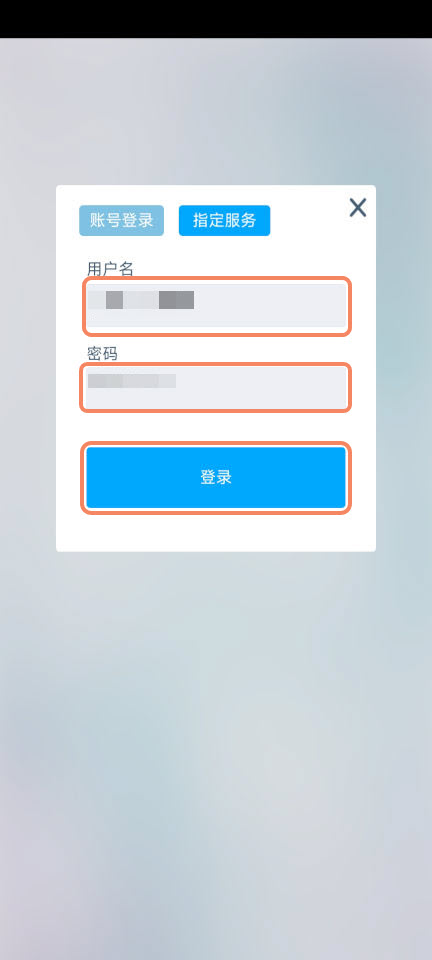
- Enter your EasyAR account username and password.
- Click "Login".
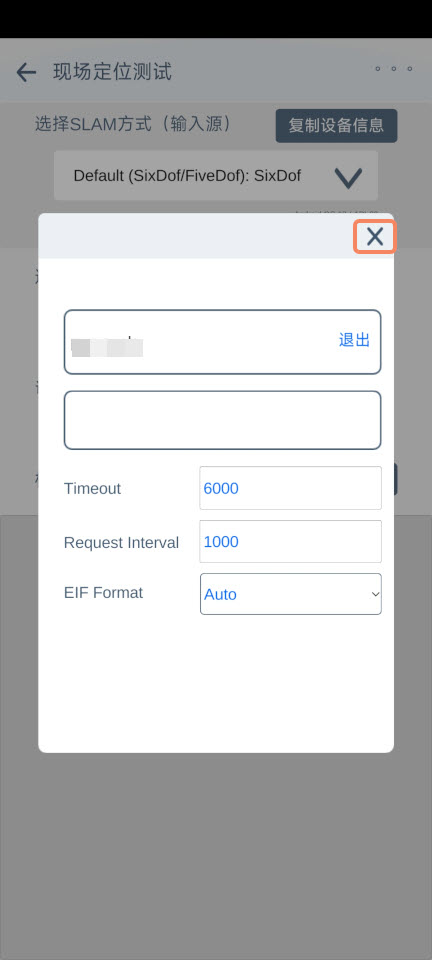
- If it's your first login, directly click the close icon in the upper right corner of the pop-up window.
- Select a cloud localization library and an annotation data package.
Tip
If you haven't created an annotation data package yet, select "Do not use".
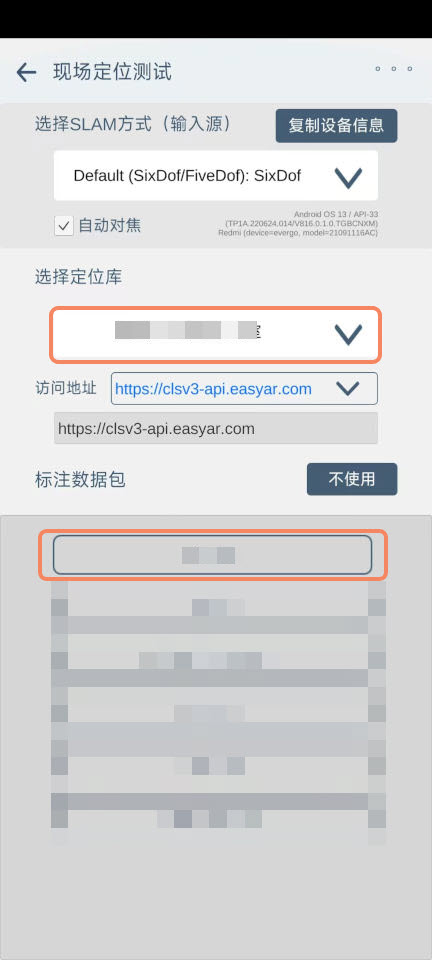
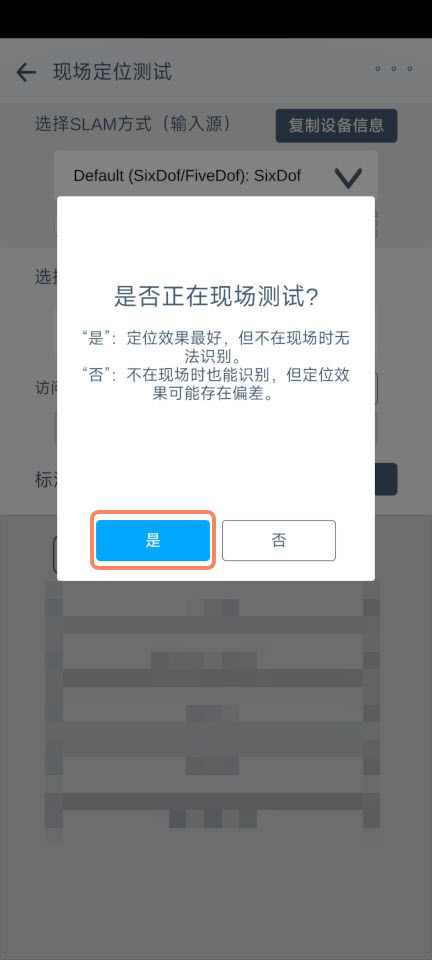
- In the pop-up window, click "Yes", then point the mobile phone camera at the ground or a building and wait for a few seconds until the positioning initialization is completed.
- If you are not at the on-site location and the positioning debugging information shows the text "Not Found", it means that the positioning service is running normally but the target is not located.
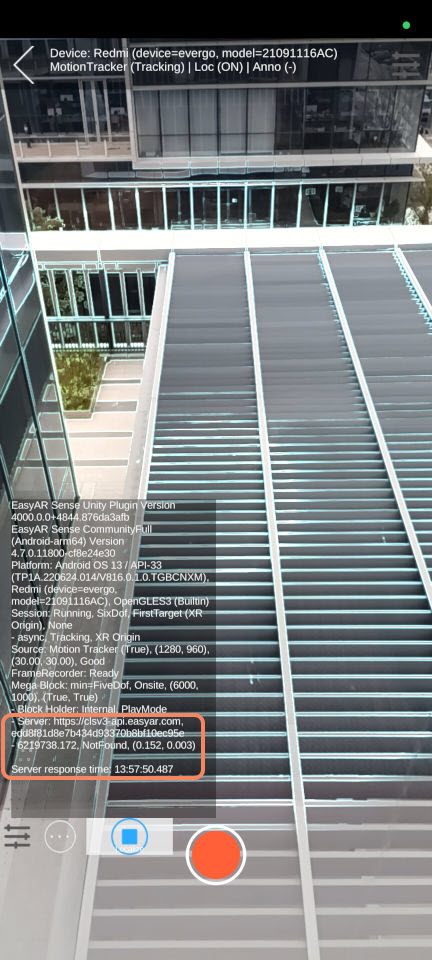
- If you are at the on-site location and the positioning debugging information shows the text "Found", it means that the positioning service is running normally and the target is located.
- The annotated cubes in the annotation data will also be displayed at the corresponding positions.