Run the wechat mini program mega plugin sample project
This article will introduce how to run the WeChat Mini Program Mega Plugin sample project (including annotation usage).
Before starting
Complete quickly run the sample project.
Complete using mega studio on unity to place 3d content, and obtain annotation data package id and annotation point id.
[Block cloud localization] > [Annotation data] The ID in the cloud localization library list is the annotation data package id.
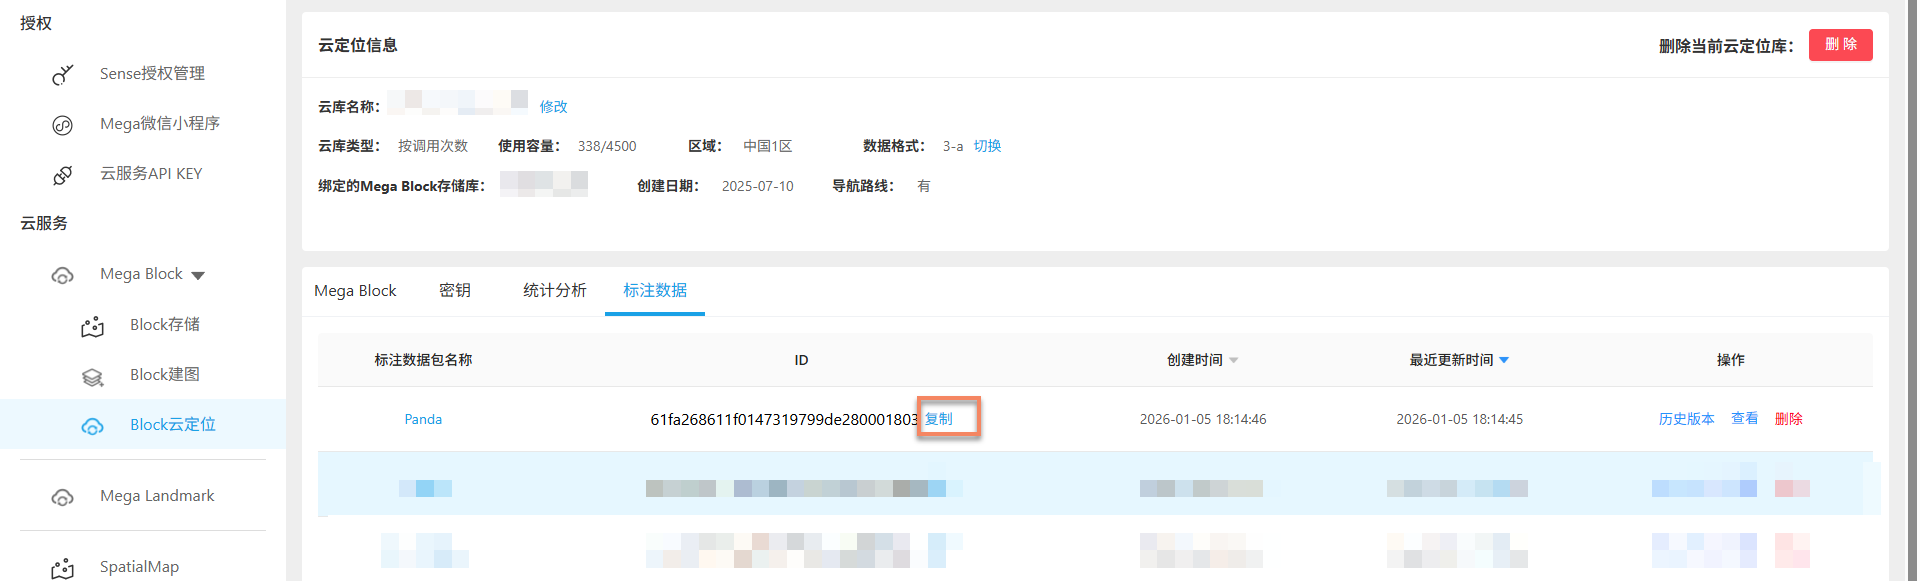
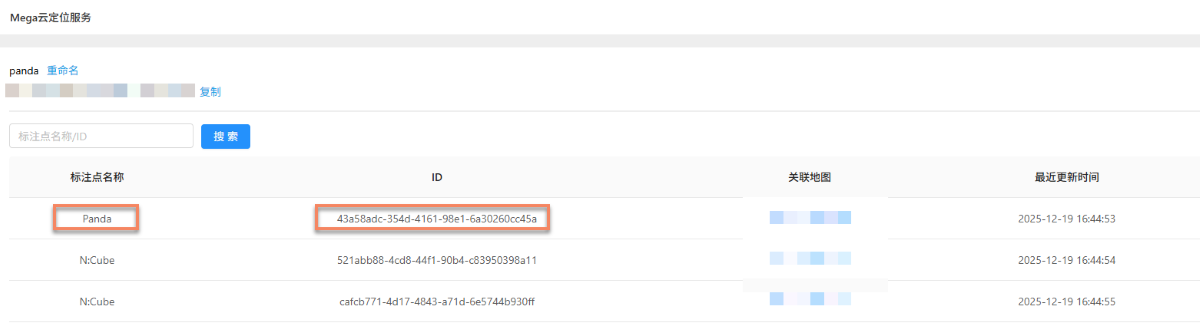
Click [View] on the right to see the uploaded annotation data names and IDs. The ID in the list on this page is the annotation point id.
Configure mega annotation data package id
Fill in the annotation data package ID in miniprogram/components/sample-data/easyar-settings.ts:
/** Fill in mega annotation data package id */
export const MegaAnnotationId: string = "";
Configure the model to display at annotation points
In miniprogram/components/sample-data/annotation-metadata.ts, configure the annotations to replace by changing the key to the annotation point id. Separate multiple IDs with commas if replacing multiple.
export const AnnotationMetaData: Record<string, any> = {
    /** Fill in annotation point id */
    "aaaaaaaa-bbbb-cccc-dddd-123456789012": {
        assetId: "panda",
        scale: "1 1 1"
    },
    "aaaaaaaa-bbbb-cccc-dddd-123456789013": {
        assetId: "panda",
        scale: "1 1 1"
    }
};
For how to record and correspond annotation point IDs, refer to confirm annotation data.
Run on device
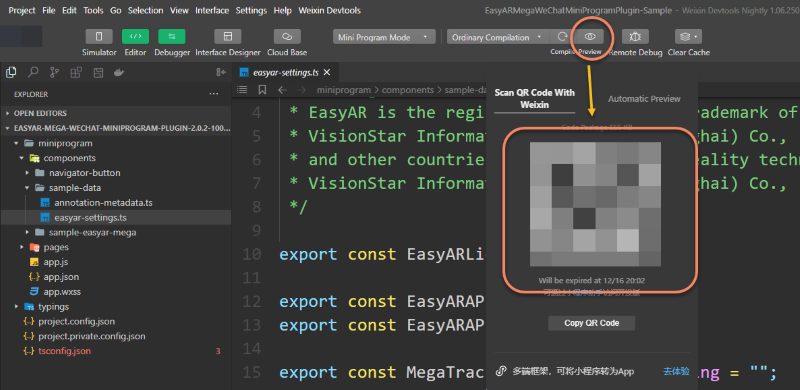
Click the real-device preview button in the top bar of the Mini Program development tool, and load by scanning the QR code.
Note
You cannot directly simulate running xr-frame components with AR functionality in the development tool.
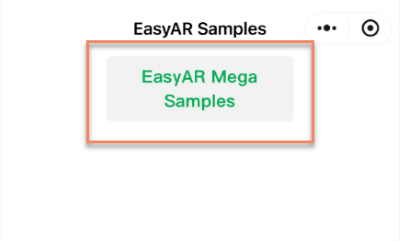
Click EasyAR Mega Samples to enter the sample project's AR scene.
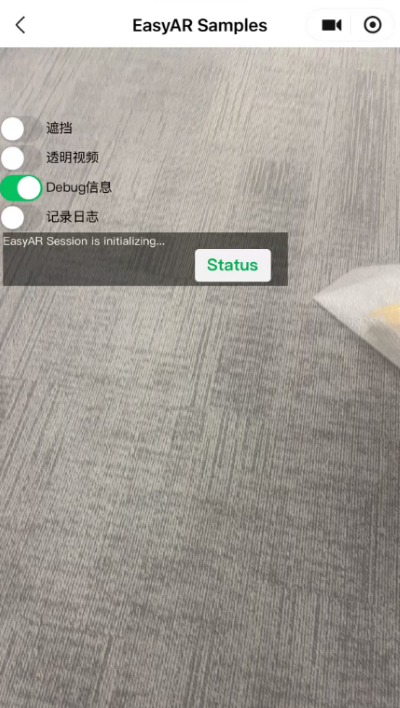
The prompt
EasyAR Session is initializingon screen indicates WeChat plane detection is initializing.Tip
Ensure testing in well-lit environments, avoiding large areas of plain-colored walls or floors.
Swing the phone steadily left and right facing the ground or other planes to speed up this process.
After initialization is complete, hold the phone vertically to capture normal real-world scenes with the camera. When localization succeeds,
Foundappears in debug info, and the status indicator at bottom right turns green.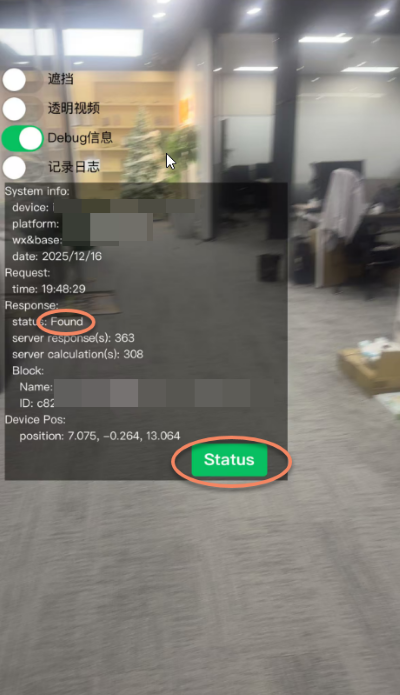
GLTF models or cubes will load and render at annotation positions (depending on whether
assetIdis configured).Running effect: